
Simple Remote Control Repair

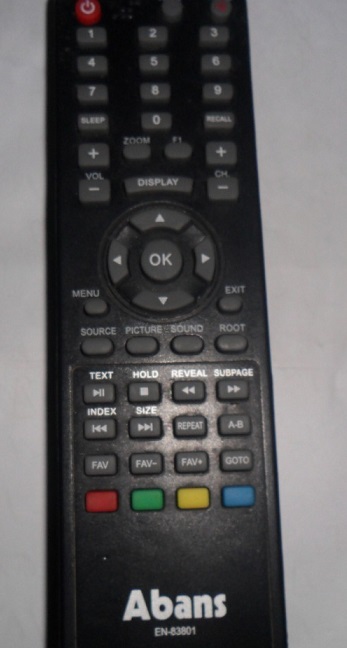
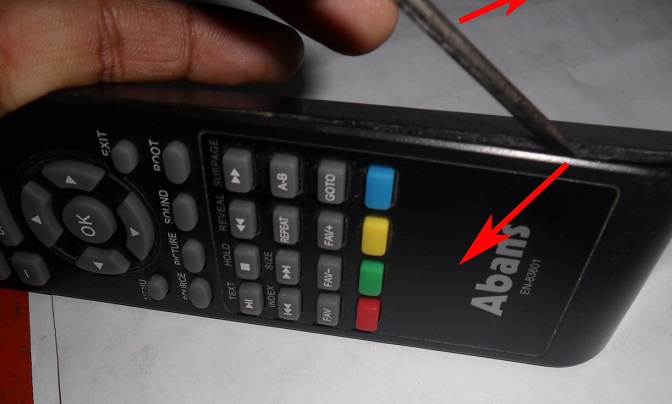
A customer sent to me his remote control for repair and inside does not have batteries. So I had to use my own batteries to test it.
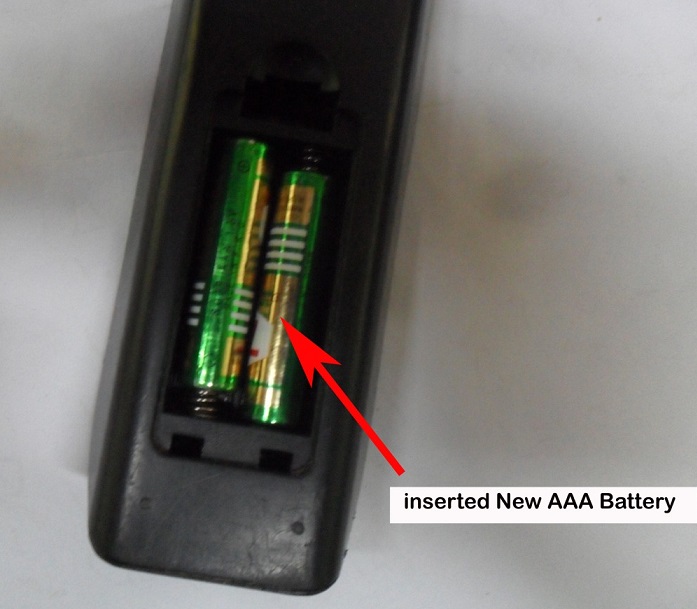
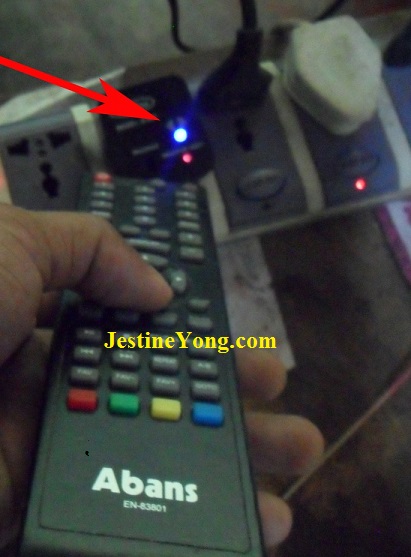
Once the 2 x AAA new batteries were inserted I pointed the remote control to my remote controller tester (Starmax universal IR remote controller signal tester) as seen in the next photo.
For a good working remote control, whenever a button is pressed the blue LED should light up. But for this remote control, it seems like no response no matter which buttons I had pressed. This means the remote control have problem and it need to be repaired.
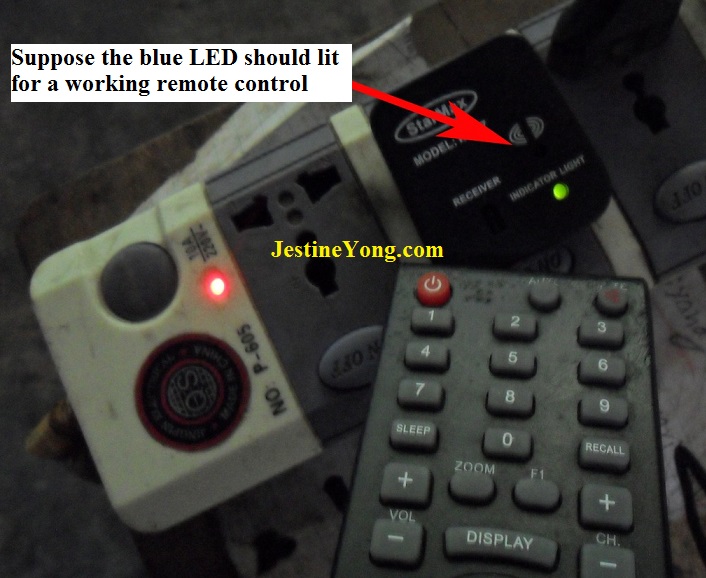
In the below photo, when I pressed any button on a good working remote control, the blue LED lit and this means the remote control is sending out signal which was detected by the remote controller tester.
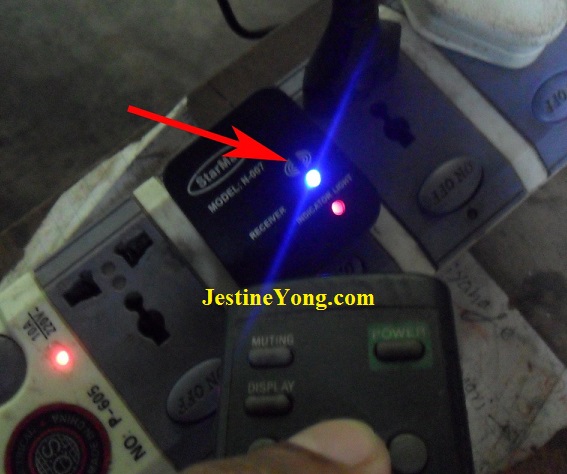
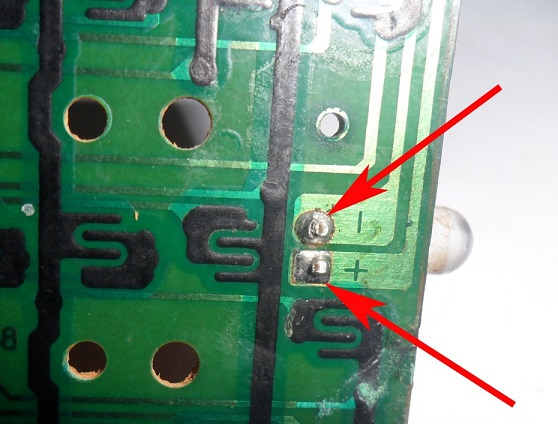
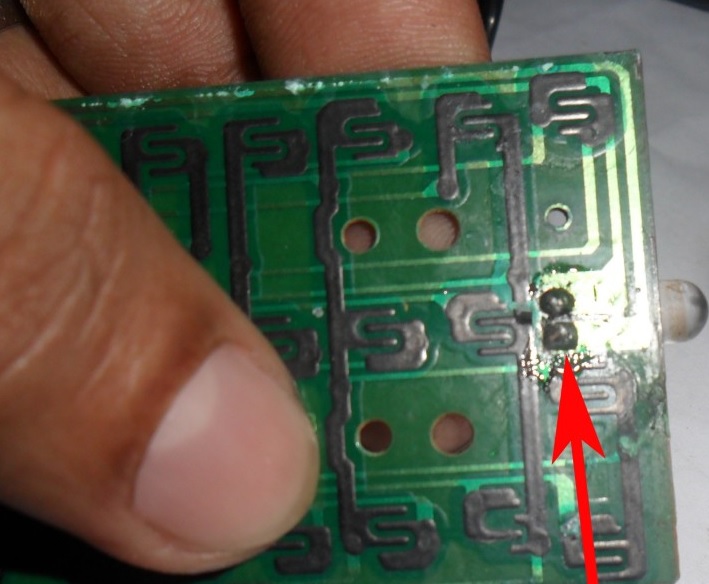
Next i had to open the remote control to see what is wrong with it. The first thing I saw was dry joints in the IR LED.
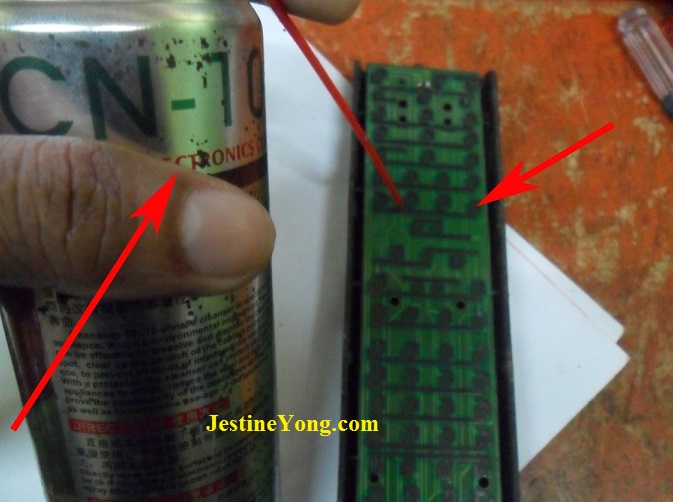
I had to resolder and clean the circuit board with a contact cleaner before test it again.
Yes, the remote control was working like normal as seen from the photo below. It was a pretty straight forward test and repair. All the best to you.

This article was prepared for you by Suranga Bandara who owns an Electronics shop in Anuradapura, Sri Lanka.
Please give a support by clicking on the social buttons below. Your feedback on the post is welcome. Please leave it in the comments. If you have electronic repair articles to share with us, please contact us HERE.
P.S- If you enjoyed reading this, click here to subscribe to my blog (free subscription). That way, you’ll never miss a post. You can also forward this website link to your friends and colleagues-thanks!
Note: You may check out his previous repair article in the below link:
https://www.jestineyong.com/loud-sparking-sound-in-crt-tv-solved/
 (126)Dislikes
 (0)
(0)
13 Comments
Leave a Reply
Cancel reply


albert van bemmelen
March 26, 2016 at 5:58 pm
Thank you Suranga, indeed a straightforward repair. I have an old
colleague who gave me his IR TV remote in pieces after he diassembled
it because he couldn't repair it himself. Not only did he replace and
damage the IR diode and inserted it the wrong way, he also didn't use
new batteries. So it would never work. And he told me that he would
repay me the parts I had to replace. This fact has repeated itself two
other times after the first time. Which shows that a simple device can
cause a lot of trouble in the hands of a layman. But the man is a real
expert in the field of Chemistry (a real Professor in his field). He
never compensated me for the IR diode or the fixes I made though, but
that is the way it is. (He sadly also is a bit of an Alcoholic, like
my now deceased upstairs neighbour). I myself use an IR led as IR
detector soldered on an BNC connector on my scope Inputs. And I am
curious when my old 'remote destroyer friend' will visit me the fourth
time.
Robert Calk
March 27, 2016 at 12:02 pm
Hi Albert,
I use my camera in my cell phone or my other camera to check them. A while back, one of my nephews washed his remote with the laundry. After I dried it out and cleaned it up, it worked fine. The batteries were ruined though.
Albert van Bemmelen
March 28, 2016 at 3:43 am
Yes that is another way to check IR remote signals Robert. I also know that when you use a modern CCD camera with a high shutter time you even can check if all tube luminescence lights have the same cos phi power factor.
Franklin Peters
March 26, 2016 at 9:17 pm
When testing a IR device, I point the device at a digital camera and look at it through the LCD. A digital camera can "see" IR signals so when you look in the LCD and press a button on the remote, you will see the IR emitter on the remote flashing.
A digital camera is a good device to use the test any IR device and many people have them.
Chad Jessup
March 27, 2016 at 1:44 am
When you characterize the joint as dry, am I correct to interpret that as meaning the solder pulled away from the leg causing an absence of continuity?
Henrique J. G. Ulbrich
March 27, 2016 at 8:28 pm
Chad, this happened once to my own remote control. The joints became dry/broken due to the external physical exposure of the IR LED. As it must be in front of the remote control, in order to point its emmission to the TV set, the LED was subject to mechanical stresses due to handling (the fingers applying pressure on the component). As time went on, this handling has imposed a continuous swing on the IR LED. All this effort was naturally concentrated on the points the LED is soldered. The rest of this history is easy to conclude...
Peter Owens
March 27, 2016 at 4:22 pm
I also would like to know how it was so obvious to you that dry joints were present. Frankly the pics don't make that clear.
Thanks
suranga bandara, Suranga Electronics
March 27, 2016 at 6:24 pm
Hi All,
Thanks so much for your Comment.
Parasuraman S
March 27, 2016 at 8:01 pm
Good job! I have done repairs of remote many times. Dry joints as well as the failure of crystal were the major complaints, added to the customer dropping, children playing with it and spoiling it etc.
Yogesh Panchal
March 28, 2016 at 2:55 pm
Suranga, Good job!
Andrew
March 28, 2016 at 10:15 pm
Hi All
I strip the remote and remove the battery- 's, put all plastic covers/ housing and pcb in basin and wash with a nail brush hot water and normal hand soap, Scrub the housing PCB and rubber function pads until clean
Now check for bad solder joints. Dry with a hair dryer if in a hurry, reassemble, clean remote
Andy Thomas
March 29, 2016 at 5:07 am
You can also use an AM radio tuned the bottom part of the dial which will produce a buzzing noise when a RC button is pressed.
Humberto
March 29, 2016 at 10:48 pm
Good repair Suranga. As some people has told above, I use my cell phone with the camera function to watch if IR LED is working properly, you can see it flashing in your cell's Display any time you press a key.