
Low Voltage Polarity Checker
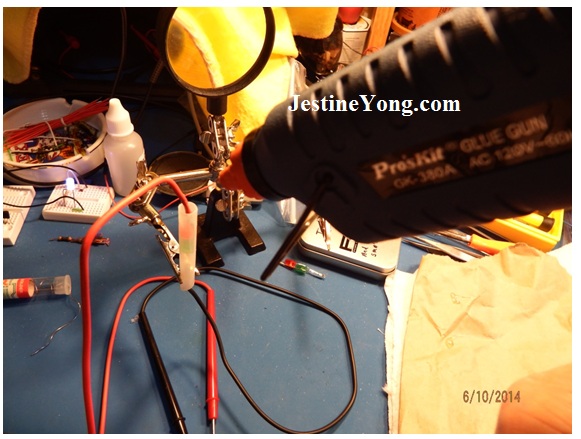
I thought I would share with you guys the LowVoltage Polarity Checker that I made. I don’t remember where I saw it first, but it comes in handy. It is easy to make and only requires a pair of test leads, one 1KΩ 1/2Watt resistor, one red LED, one green LED, and a clear plastic tube or straw. I also close the ends up with hot glue.
Bend the Cathode of the red LED up over the LED so it’s laying on the side of the LED pointing the other direction past the top. Use needle-nose pliers so that you don’t put stress on the LED. Bend the Anode lead of the green LED the same way as you bent the Cathode of the red LED. Place the green LED behind the red LED as in the photo, and solder the leads together as shown.
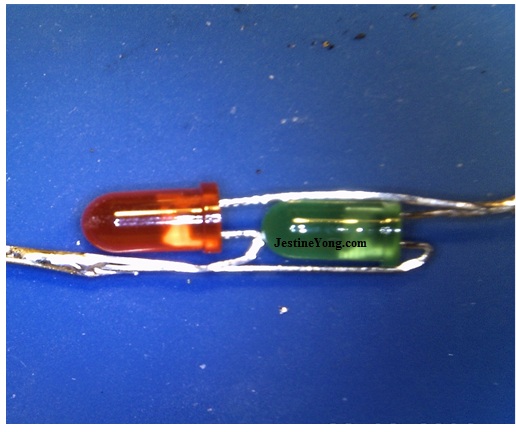
Now solder the resistor onto the leads at the bottom of the green LED. Test your LED’s and make sure they are working properly. When positive is on the red LED side and negative is on the end of the resistor, the green LED should light. If reversed, the red LED should light. If the ends are connected to A/C voltage, then both LED’s should light. If all is ok, then solder your ground test lead onto the end of the resistor.
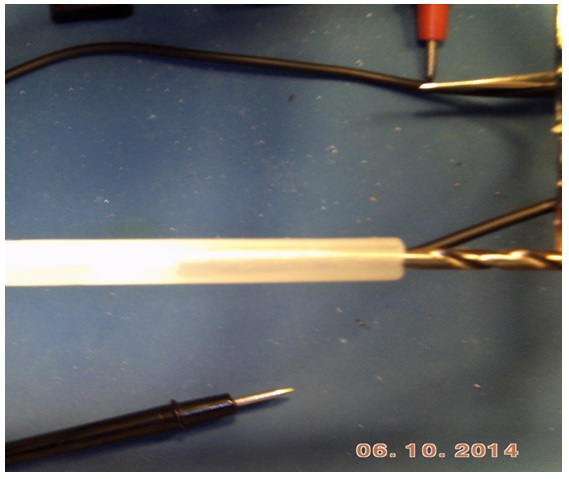
Cut your tube so just the lead wires will stick out of the tube ends. Using the flat end of a small drill bit or wooden dowel or something, carefully push them through your plastic tube without damaging anything until the leads in front of the red LED are protruding out of the other side of the tube. Now check again with a battery or power supply that your LED’s are working properly before you solder your positive test lead onto the LED’s lead as in the photo. Remember it’s only a 1/2watt resistor; so 22V would give it 0.484watts. Then push them back into the tube so just your lead wires are sticking out of the ends of your tube.

I like to seal the ends with hot glue after another check, this time with 9V A/C.

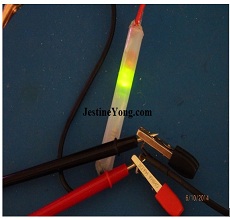
With this simple polarity tester, I can test the wires on this 5V wall-wart that has the plug cut off, and easily find out which wire is positive and which wire is negative. Of course, if the output were A/C, both LED’s would be lit.
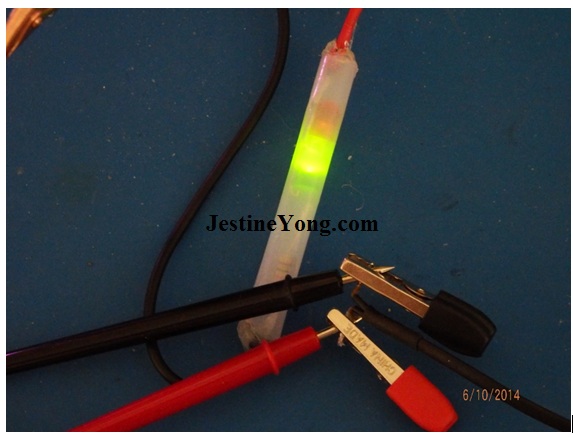
Great! The green LED is lit. So that means the wire that the red lead is connected to, is positive, and the wire that is connected to the black lead, is negative.
Now you have a quick and inexpensive low voltage polarity checker. Plus it’s fun to make. Please feel free to leave questions and comments below.

This article was prepared for you by Robert Calk Jr. from USA and he is a Hobbyist that loves learning & repairing electronics. He welcomes any comments and suggestions you care to contribute.
Please give a support by clicking on the social buttons below. Your feedback on the post is welcome. Please leave it in the comments.
P.S- Do you know of any your friends who would benefit from this content that you are reading now? If so, forward this website to your friends or you can invite your friends to subscribe to my newsletter for free in this Link.
 (4)Dislikes
 (0)
(0)
3 Comments
Leave a Reply
Cancel reply


Er. Gautam Mahaat Hazarika
October 13, 2015 at 9:01 pm
Really great to have a such a low cost low polarity tester. Great Job at your end. Can you have an idea of making a low cost transistor tester. Like to find out which terminal is base,emitter or collector.
With Regards
Er. Gautam Mahaat Hazarika
Robert Calk
October 14, 2015 at 11:00 am
Hi Er. Gautam Mahaat Hazarika,
The cheapest way is to use an analog VOM that has the X10K and will have the 9V battery besides the 2 AA batteries. Then if you can't afford Mr. Yong's ebooks or other electronics books, then just google,"testing transistors" and you will find a website to help you.
Chris
November 10, 2015 at 8:34 am
Great job and I will preferred to all technicians who repair car electronic in the car does they build up one of this device.
It lite nice and wont harm the sensitive car computers...
My best regards.