
Two ICs Burnt In USB Mini Amplifier

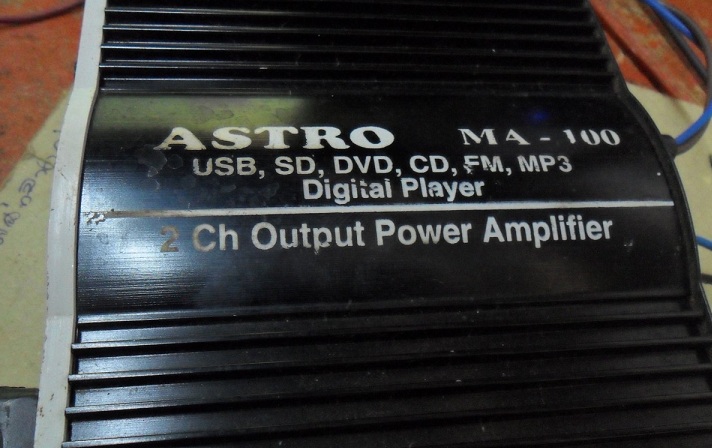
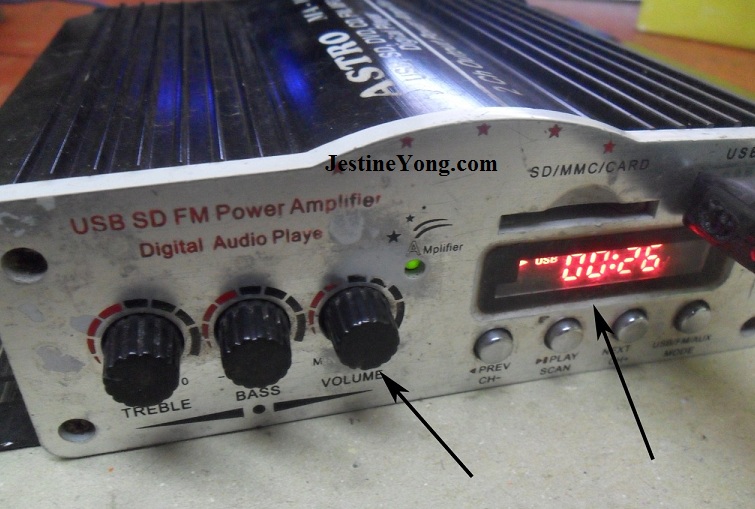
The complaint of this USB Mini Amplifier was no sound but the USB drive was working fine.
Even when the volume control was turned to maximum, there was still no sound.
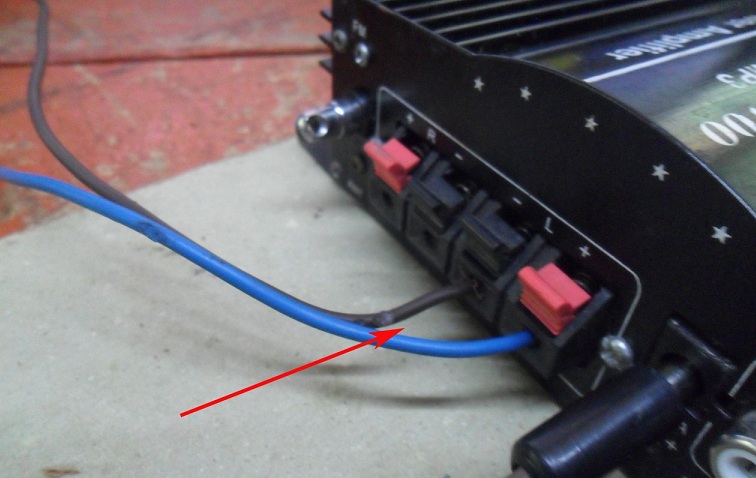
Checking on the speaker wires, I found that the wires were properly connected and the speakers were good.
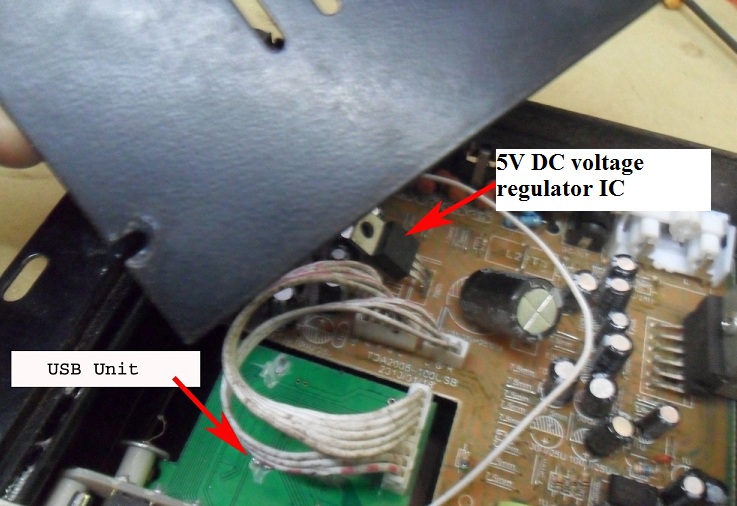
This means I had to open up the case and perform the troubleshooting. Once the cover was lifted I saw a LM7805 voltage regulator IC in the center of the circuit board. I did not start troubleshooting it, instead I scan around for any burnt components first before power On and check on the dc supply voltage.
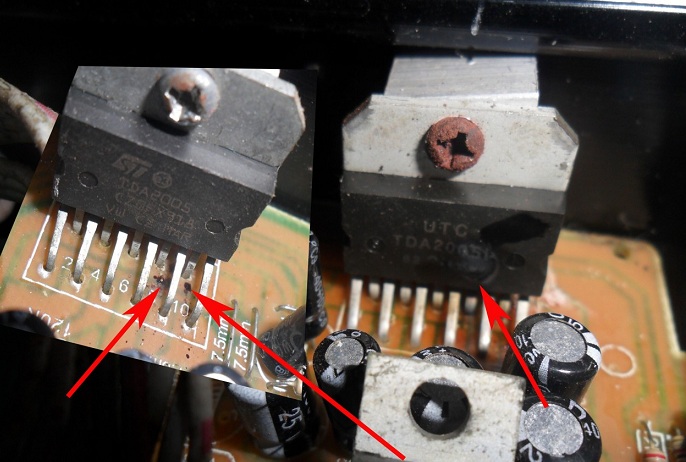
Just few seconds looked into the board, I saw the two TDA2005 IC amplifier were burnt-see the photos below:
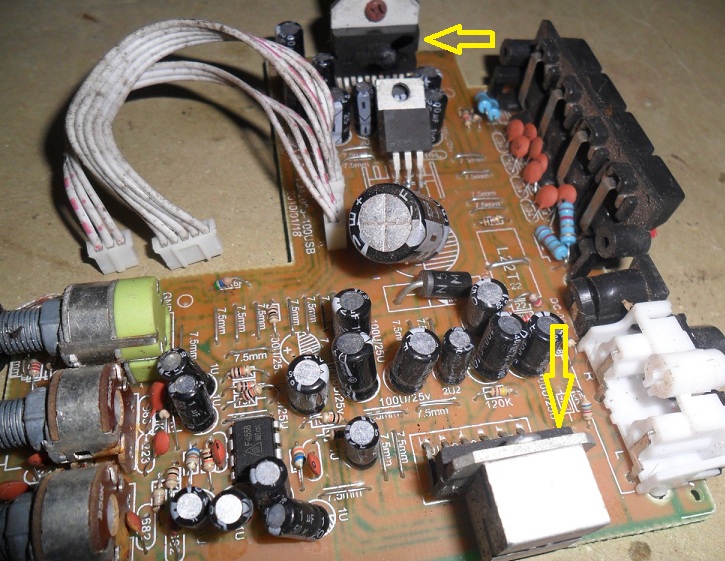
Below photo is much more clearer as where both the ICs were located (see the yellow arrow)
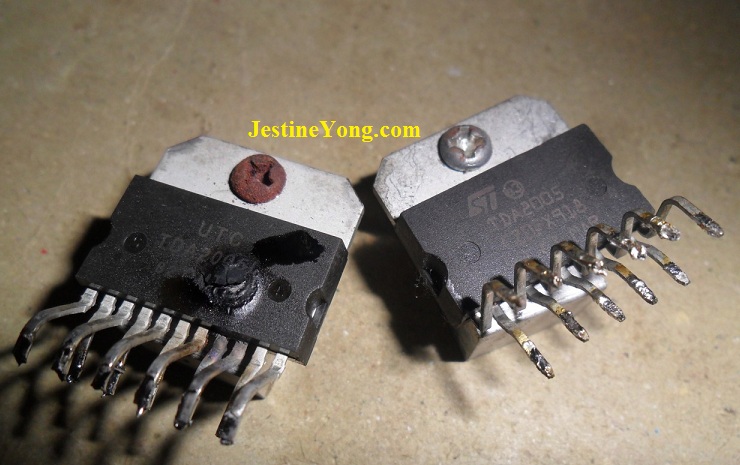
I did not straight away replace these two ICs, because I wanted to check if there are other components that gone bad as well. After spending some times checking, I concluded that only the two ICs were faulty. Below is the photo where you can see how severe the ICs (left one) burnt. This is why the amplifier can’t produce any sound at all.
If you would like to see the datasheet in more details, you can click on the picture below:

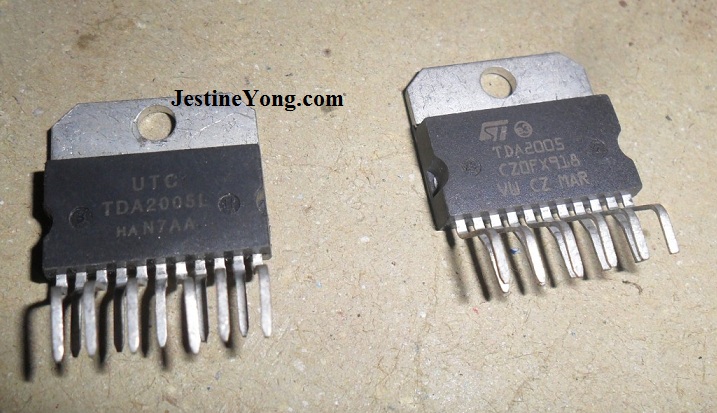
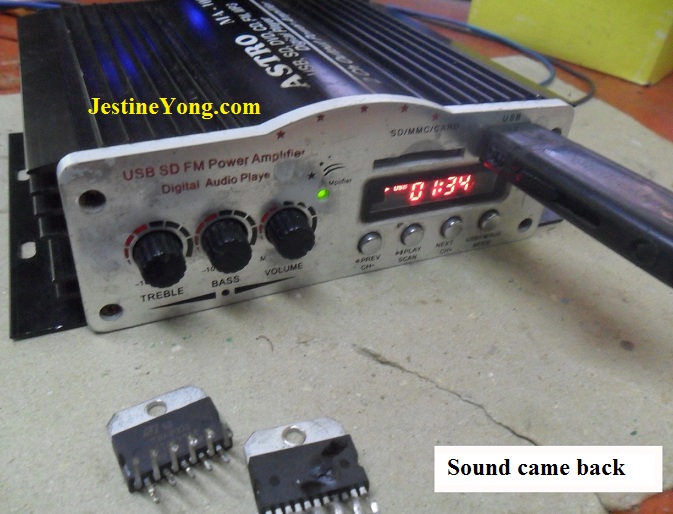
I got these two new ICs from the local market and after fixing it, the amplifier work like charm!

This article was prepared for you by Suranga Bandara who owns an Electronics shop in Anuradapura, Sri Lanka.
Please give a support by clicking on the social buttons below. Your feedback on the post is welcome. Please leave it in the comments. If you have electronic repair articles to share with us, please contact us HERE.
P.S- If you enjoyed reading this, click here to subscribe to my blog (free subscription). That way, you’ll never miss a post. You can also forward this website link to your friends and colleagues-thanks!
Note: You may check out his previous repair article in the below link:
 (126)Dislikes
 (0)
(0)
10 Comments
Leave a Reply


Parasuraman S
June 6, 2016 at 9:27 pm
Excellent! Neat job!
justice cele
June 6, 2016 at 9:31 pm
very good Suranga thanks once again
Yogesh Panchal
June 6, 2016 at 10:06 pm
Well done! suranga.
Abdul
June 6, 2016 at 10:16 pm
Thank you Suranga.
I always like the way you shared your experiences
Humberto
June 6, 2016 at 10:56 pm
Good repair Suranga. Another device saved from the dump.
Robert Calk
June 6, 2016 at 11:06 pm
Good job, Suranga.
Anthony
June 7, 2016 at 5:30 am
Nice repair there Suranga, thanks for sharing with us here.
Ulises Aguilar Pazzani
June 8, 2016 at 11:24 am
nice Job Suranga, hunting for burn componetns
Peter Owens
June 23, 2016 at 12:06 pm
OK one was obviously badly damaged. The other I could not see from your pics how you determined it was faulty.
Suppose the faults had not shown external damage, how would you have tested them?
Thanks
Mahmoud
July 14, 2016 at 9:19 pm
nice job Mr.Suranga Bandara will done
I like your repair articles