
Replaced 100W LED Board In Garden Light Model Supex IP65
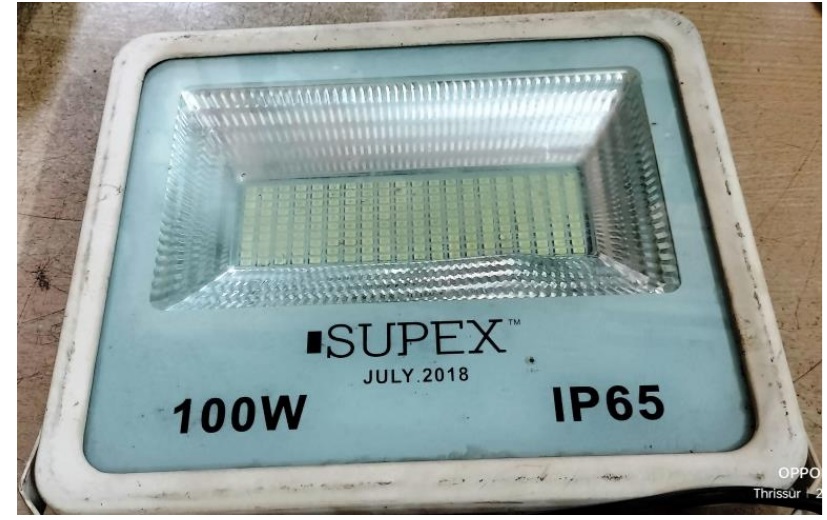
This light belonged to the hospital where I work and was brought to me with the complaint that one side of the LED array was blinking and half of the other was not lighting up. I carried this light along with another and an LED TV in my car and brought it home. After cleaning the outside of this light I brought it to my service table. In order to open the light, we need to remove six screws of the front frame. These were rusted and I had to apply WD40 and wait for it to penetrate before I could remove it. Then I pried open the glass by inserting a sharp knife to cut the fixing silicone glue.
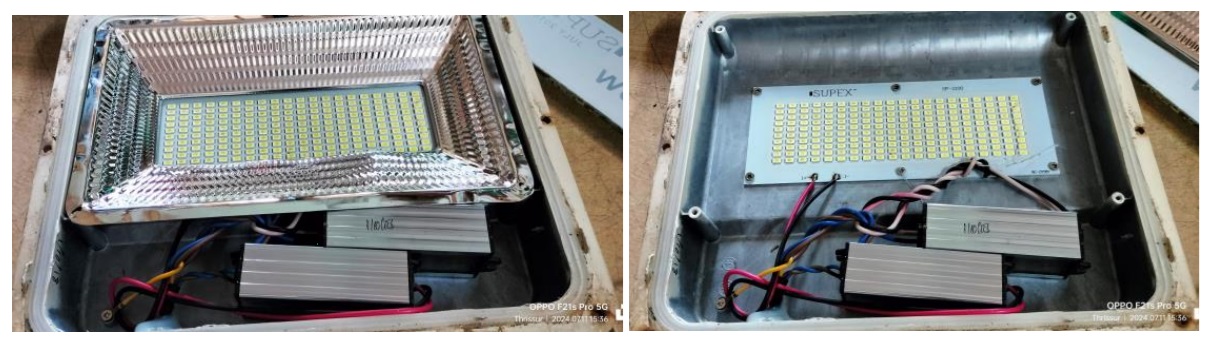
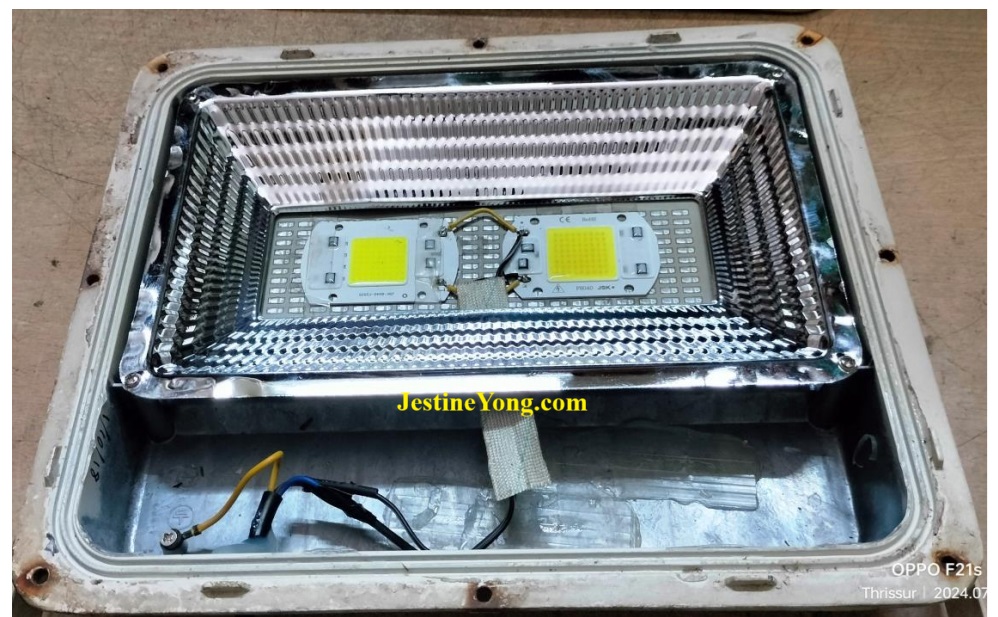
Then gently removed the glass. Let us have a look at the inside:
One word of caution to those who are inexperienced in handling such led boards: Never try to replace only the defective LEDs in this board. First of all we need to fetch exact match and it is extremely difficult to remove the defective LEDs from the board and secondly the other LEDs would fail soon one by one due to mismatch of current drawn. I have burnt my fingers when I did this and that is why I am mentioning this.
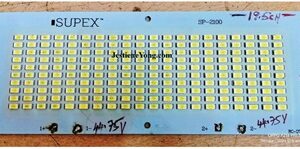
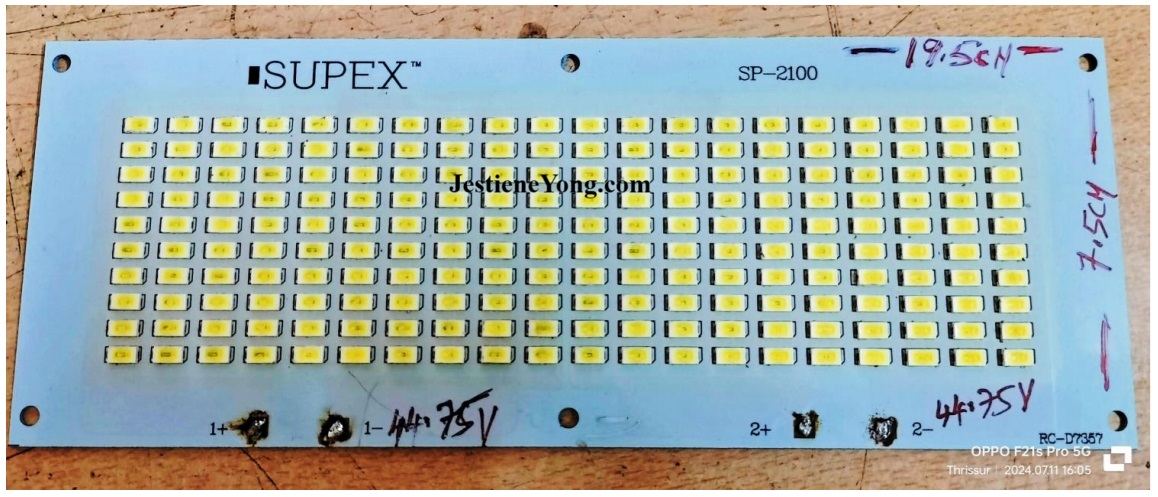
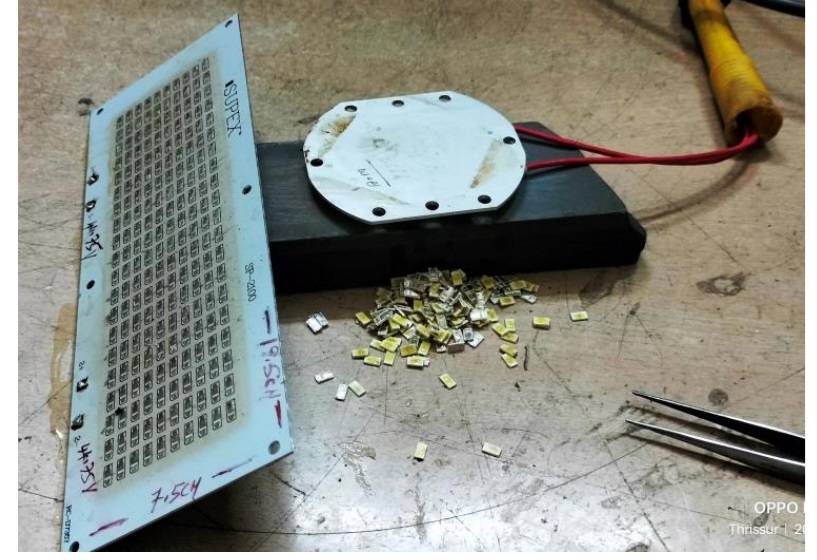
Due to advancement in technology, nowadays we get only such boards with inverted circuit fixed in the board itself and these work directly on AC without any need of an external driver module. As 100W module of same size was not available, I bought two 50Watts. Then removed the LEDs from this board using a hotplate, in order to use it as the base for fitting the new on the top. We need to apply flux liberally on top of the LEDs before melting the solder so that we only need to just wipe the LEDs out. This hotplate works on 230V AC and gets hot very quickly and an easy tool for such odd jobs.
Then fixed this board first and fixed the new LED boards on top of this board. Incidentally, this board has heat zinc compound under it so that the heat generated get dissipated through the metal body. Then removed the LED Driver modules and wired the new boards directly to the AC.
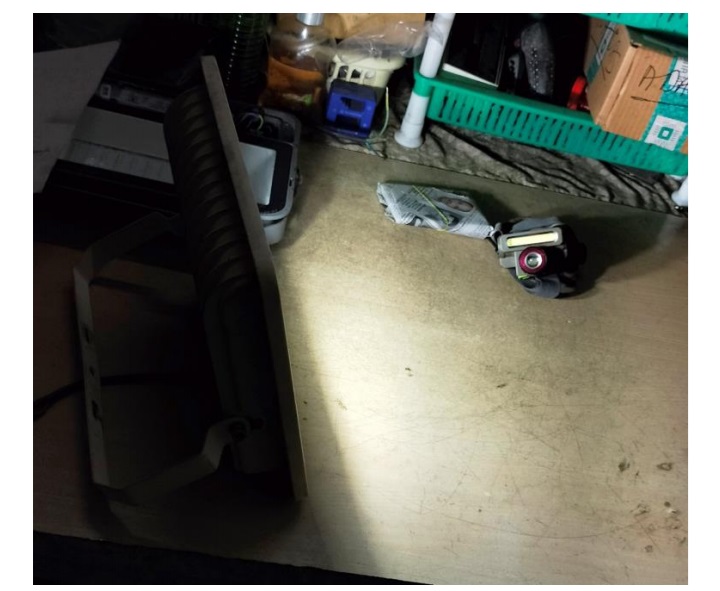
The light was very bright when tested and I was wondering about the advancement in technology which made it possible to reduce the size at the same time improve the efficiency. Then fixed the glass on top and sealed it using silicon sealant to make it water proof. Then dried it up using a hot blower keeping it away at a safe distance so that it does not cause fire.
Mission accomplished with new ways and methods learned in the process, which caused intense satisfaction to get added to the bag.

This article was prepared for you by Parasuraman Subramanian from India. He is 74 years old and has more than 30 years’ experience in handling antique equipment like Valve Radio, Amps, Reel Tape Recorders and currently studying latest tech-classes conducted by Kerala State Electronics Technicians’ Association. He has done graduation in BBA degree, private diploma in Radio Engineering and retired as MD of a USA company. Presently working as Consultant to Hospital and other institutions.
Please give a support by clicking on the social buttons below. Your feedback on the post is welcome. Please leave it in the comments.
P.S-If you enjoyed reading this, click here to subscribe to my blog (free subscription). That way, you’ll never miss a post. You can also forward this website link to your friends and colleagues-thanks!
You may check on his previous article on Hard Lesson Learned In This HAIER LED TV Model LE22B600
 (46)Dislikes
 (0)
(0)
14 Comments
Leave a Reply


Yogesh Panchal
September 21, 2024 at 11:25 pm
Good Job! Sir,
Replaced with COB LED?
Parasuraman S
September 22, 2024 at 1:23 pm
Yes it is a board with all chips required on it working directly on 230V AC. Thanks dear!
Albert van Bemmelen
September 22, 2024 at 12:28 am
This was another led board replacement like one -if I am not mistaken- you fixed in a previous repair before? It indeed looks like many single leds now are replaced by one big square superled.
I have not yet had the opportunity to fix such a powerful led too but a 600 Watt hotplate is one of the tools in case it is needed.
Parasuraman S
September 22, 2024 at 1:24 pm
Many thanks for your expert comments, dear Albert!
Andy Shiekh
September 22, 2024 at 3:20 am
As I am sure you know, normal silicone sealant gives out acetic acid (vinegar) as it cures, which is harmful to electronics.
Parasuraman S
September 22, 2024 at 1:25 pm
The sealant is far away from the circuit board and would not cause any harm. Thanks for the technical info, which will be useful as a guidance in future.
Imoudu.O
September 22, 2024 at 3:45 am
We all know in the advancing world we are, technology is not static, witnessing advent of micro devices. Good repair sir.
Parasuraman S
September 22, 2024 at 1:26 pm
Thanks dear!
Mark J
September 22, 2024 at 4:15 am
Parasuraman well done on the repair.
Parasuraman S
September 22, 2024 at 1:26 pm
Thanks, dear Mark!
Henrique J. G. Ulbrich
September 22, 2024 at 11:49 pm
Good and efficient job, Parasuraman. Thanks for sharing. I already had the opportunity to service LED garden reflectors, it was an interesting job.
I saw somewhere that using an iron (used for clothes) can apply to do the same service. Perhaps with inadequate heat (higher or lower). Can anyone say something about this experience?
Parasuraman S
September 23, 2024 at 3:23 pm
If the glass is not evenly heated, it might break! The bonding is at all four sides. I doubt its usage! Thanks for your comments!
Waleed Rishmawi
September 23, 2024 at 4:24 pm
very good modification. fixing the faulty led light is easy once it was soldered out and that is the hard part since all the LED lights are sitting on a heat sink and it is absorbing all the heat would be hard to replaced it. thanks for sharing and have a blessed day.
Parasuraman S
September 23, 2024 at 11:11 pm
That is why I scrubbed away all the old LEDs and provided that plate as an additional heat absorbing and dissipating heat sink. Many thanks for your comments, dear friend!