
RESTORATION OF A WHIRLPOOL INDUCTION COOKER-NX2002 TO CONTINUE ITS SERVICE
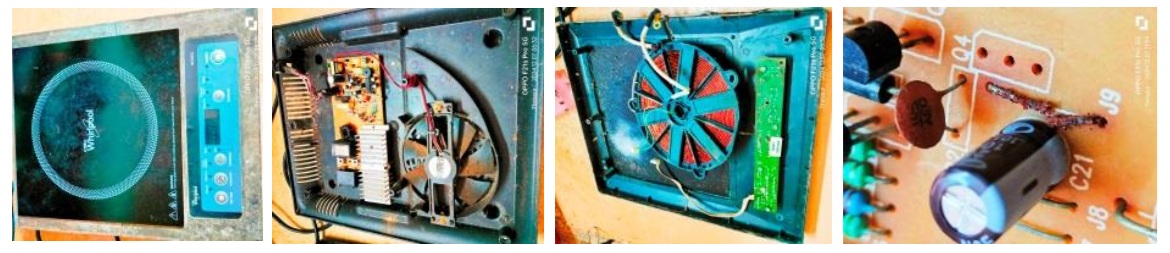
This induction cooker (hereinafter referred to as IC for brevity) was brought to me by a regular customer mentioning that it was lying neglected in the attic. Having known and also experienced the efforts that I put in to revive almost dead devices, he wanted me to try to bring it back to life. As you can see from the pictures above, the IC had enough dust, dirt and cobwebs inside apart from rust formations, which got cleaned up thoroughly as usual. Since the IGBT was found short, I did not apply the power and went ahead with my revival plan already practiced several times in the past.
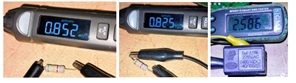
The values shown by black fixed capacitors and high watt resistors are as shown below:
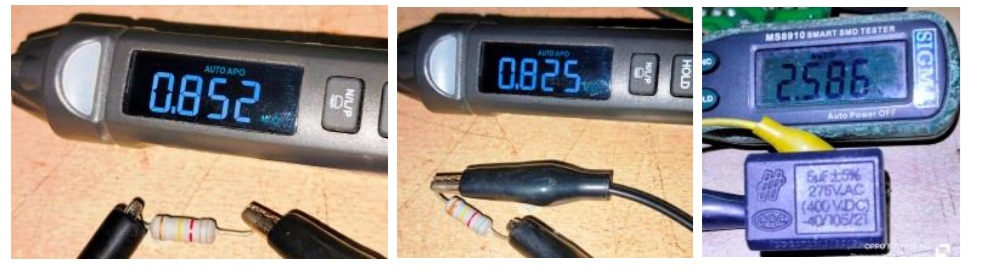
The 820K 1% tolerance resistors were showing 852K and 825K which definitely will affect the voltage sensor circuit. The dropping resistors connected in series should ultimately give DC good feedback of around 2.7V to the uController for proper functioning. The value of the black fixed capacitor was 5uF; but it showed 2.586 reaching a shorting condition, because of which the IGBT could have blown.
I replaced all the defective components (IGBT too) as well as the electrolytic capacitors as usual. Rusted jumper wires were also replaced along with a few fixed caps on the control panel as well as main board. The press to on switches were replaced due to rust formations. The fan was replaced as it was sluggish in spite of lubrication. Both the boards were retouched with fresh solder and cleaned thoroughly. The 820K was achieved by series of resistors as I was not having it in stock. Let us have a look of all these:
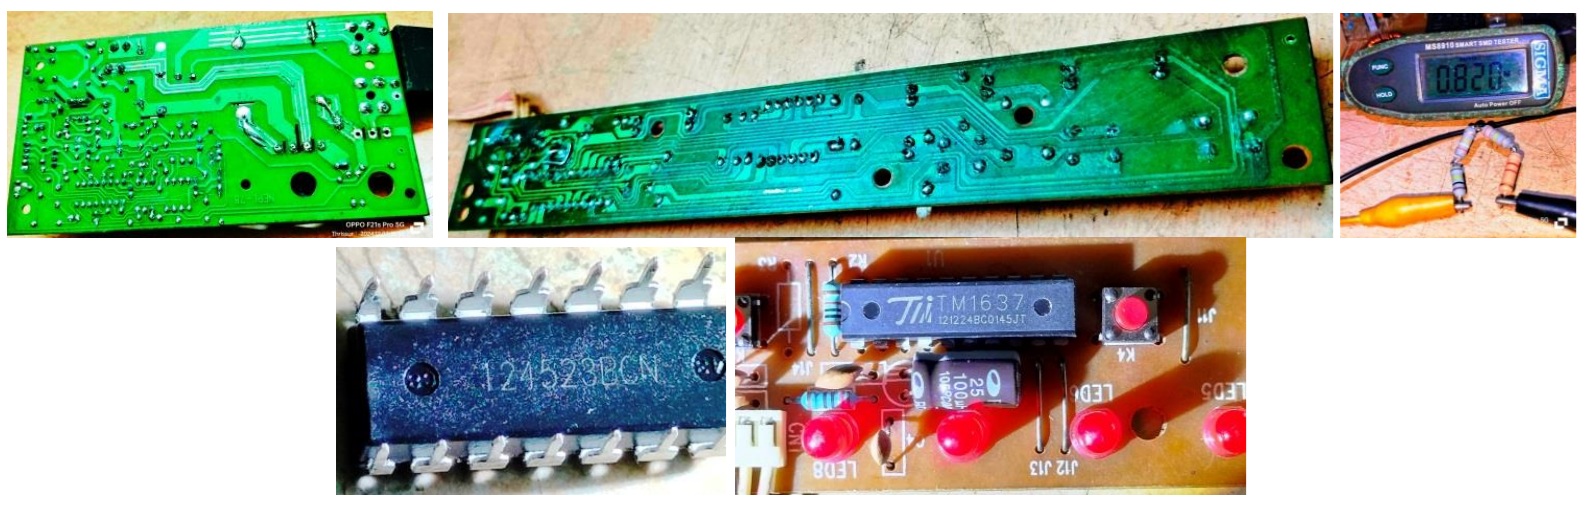
The last two snaps are that of the uController and Panel controller. After all these exercises. I assembled the boards keeping it on the table and applied power. I was glad to see that it had got back its life. So assembled the IC and tested it with a pan of water. Also used it in my kitchen for a couple of days.
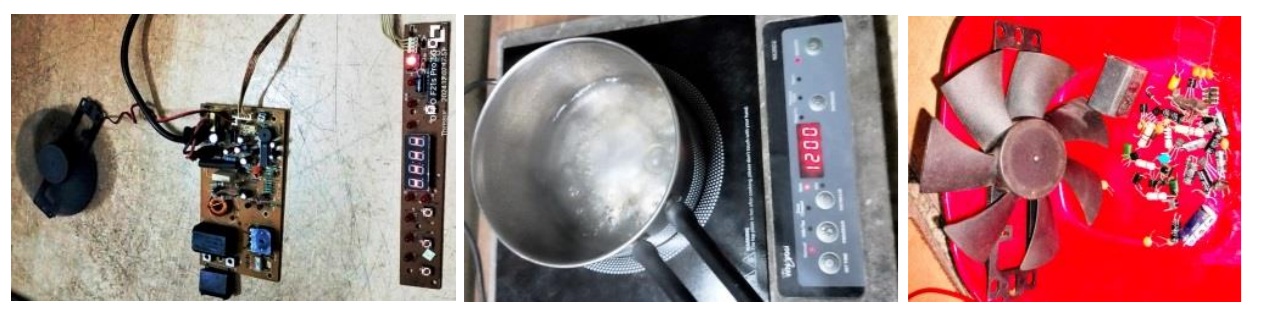
Last picture would also show you the 8050/8550/18VZener/Diodes/IN4148 etc. replaced as preventive maintenance.
Mission accomplished which qualified the utmost satisfaction to gain entry into the collection bag.

This article was prepared for you by Parasuraman Subramanian from India. He is 76 years old and has more than 30 years’ experience in handling antique equipment like Valve Radio, Amps, Reel Tape Recorders and currently studying latest tech-classes conducted by Kerala State Electronics Technicians’ Association. He has done graduation in BBA degree, private diploma in Radio Engineering and retired as MD of a USA company. Presently working as Consultant to Hospital and other institutions.
Please give a support by clicking on the social buttons below. Your feedback on the post is welcome. Please leave it in the comments.
P.S-If you enjoyed reading this, click here to subscribe to my blog (free subscription). That way, you’ll never miss a post. You can also forward this website link to your friends and colleagues-thanks!
You may check on his previous article on Solved Erratic Problems In Micromega CD-10 Silver CD Player
 (25)Dislikes
 (0)

11 Comments
Leave a Reply





Yogesh Panchal
October 3, 2026 at 6:10 pm
Good Job!Sir,
Repairing a device is one thing and maintaining it properly is another and that is what you have always strived for.
Parasuraman S
October 3, 2026 at 10:53 pm
Many thanks for your comments, dear Yogesh Bai!
Albert van Bemmelen
October 3, 2026 at 7:11 pm
Seeing the amount of time and the many replaced parts that were needed to fix yet another used IC I guess that these cookers are still very pricey to replace. And knowing that even switching from gas to induction adds extra installation and electrical upgrade costs ranging from €100 to €1,250 it is a good thing that these defect induction cookers can be fixed for less.
Parasuraman S
October 3, 2026 at 10:54 pm
Many thanks for your expert comments, dear Albert!
Mark J
October 4, 2026 at 3:25 am
Parasuraman you are becoming the expert on repairing these induction cookers. I ever get a chance to repair one I will refer to your articles.
Parasuraman S
October 4, 2026 at 11:03 pm
Many thanks for your encouraging comments, dear Mark!
Imoudu.O
October 4, 2026 at 3:27 am
One of the resistor 820k was measuring 825k on ur measuring tool,and going by 1% tolerance level +/- which is 8.2k,( 820+8.2=828.2k ohms) so theoretically,the resistor measuring 825k on your measuring pen can still be said it's OK,is there any othe reasons why you replaced it?
Parasuraman S
October 4, 2026 at 11:05 pm
These resistors buckle on load and cause catastrophic failures. It is better that we replace them. Moreover, most of the high watt resistors are of 1% tolerance. Many thanks for your involved comments, dear Imoudu!
Andy
October 4, 2026 at 11:08 pm
I think he measured 852 kΩ
Anthony Paterson
October 5, 2026 at 2:59 pm
852 AND 825 (the second picture)
Parasuraman S
October 5, 2026 at 3:28 pm
Yes, I measured the 852K that made up using different resistors.