
The Thrill Of Assembling A Discreet Amplifier
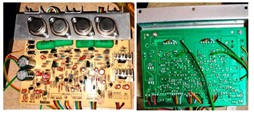
Occasionally, I take a break from my repair work and resort to assembly of some devices, in order to kill the monotony and refresh our assembling skills. I happened to see the following discreet amplifier board in Amazon India site, which evinced my interest in making one, though I indeed have a few including valve amplifiers lying around:
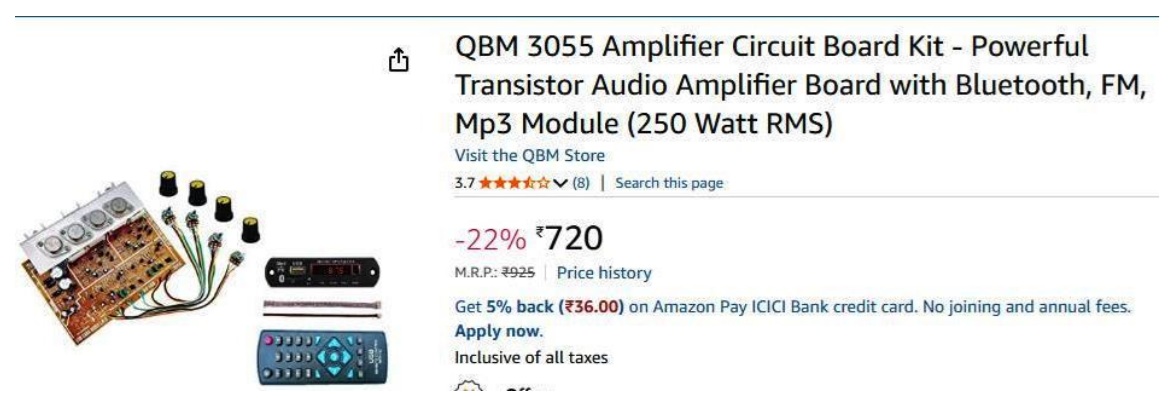
After studying its specifications, I ordered for an 18-0-18 5A transformer to my local friend, who is engaged only in making and rewinding transformers.
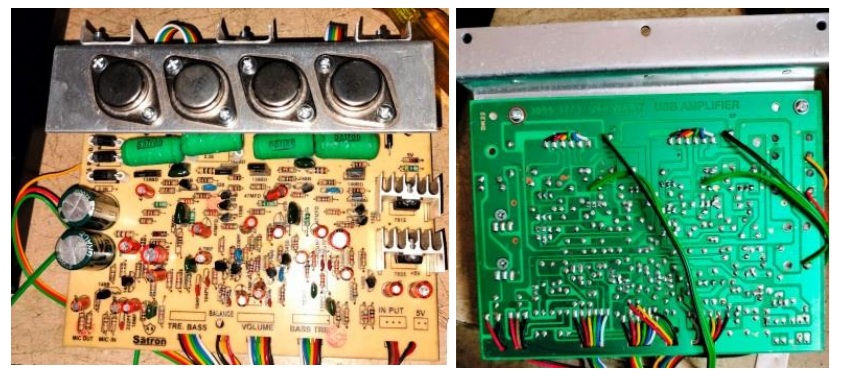
Also ordered for an Amplifier Box of suitable size to accommodate the transformer and board. The board was very neatly designed and I really liked it. Let us have a look at what I received:
Gathered the required components, accessories and fittings which are listed below:
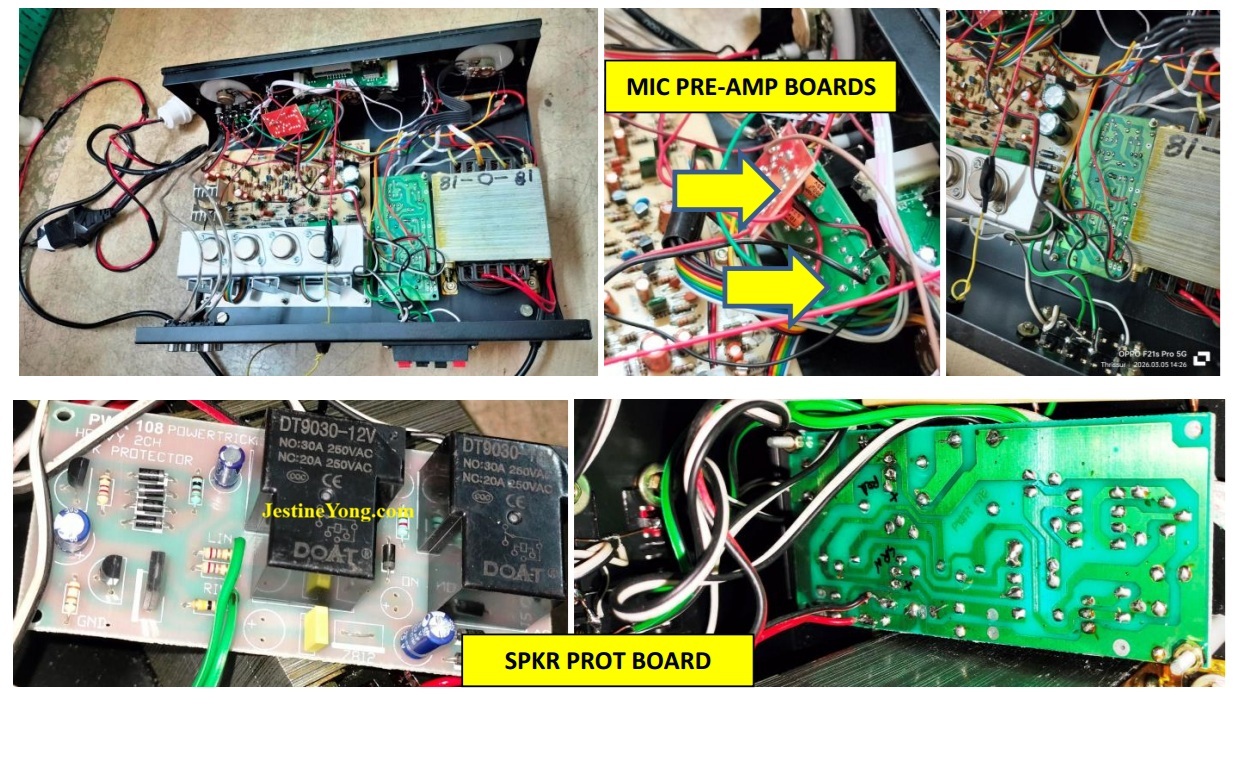
(1) Mains Cord with rubber grommet (2) 3.15A 250V AC fuse with holder (3) Speaker Protection Board working on 12V supply (4) Two Mic pre-amp boards (5) 7812 IC with components such as 104 Cap in the input, 334 Cap and 220uF/25V cap in the output and Red LED (6) Two pole, two way, three-band switch – 1 (7) Mic Socket (8) On/off toggle switch – 2 Nos (One for the USB/FM Module and another for the mic) Mains/on-off switch with built in LED (9) Three-in-one RC Socket (10) Speaker connector (11) 2 Nos. of LED holders with one Red and one Green LEDs for the protection board (12) Large Knobs – 2 Nos (One for the Master and another for the balance to cover the area marked on the Amp Box) (13) Foot rubber grommets – 4 (14) Screws and nuts to fix the transformer, speaker connector, 3 band switch, USB/FM unit in its slot provided in the Amp Box, RC socket, Mother Board, Speaker Protection Board, Foot rubber gromets etc.
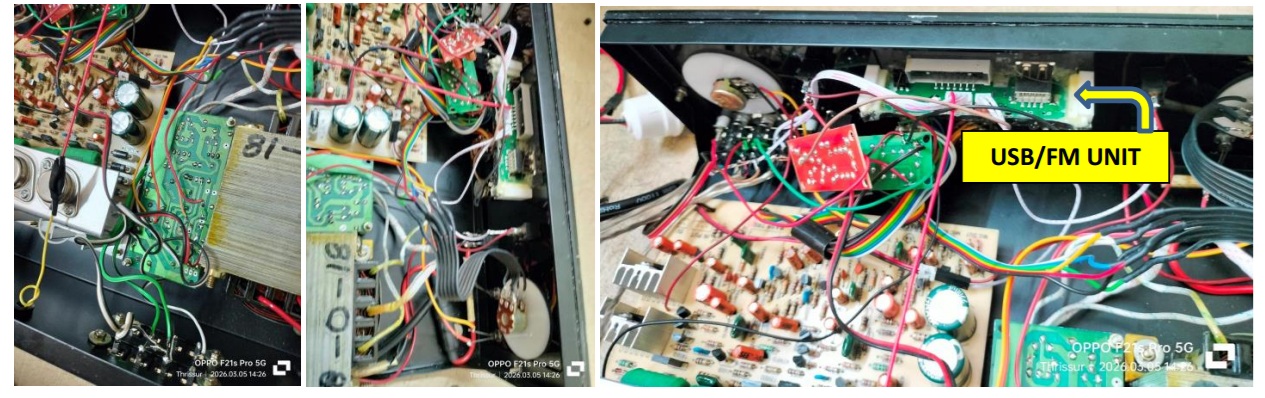
First I fixed the transformer drilling holes at the bottom, Speaker Connector in the slot provided, RC Socket in its slot, 3 Band Switch (I had to expand the holes to accommodate the front buttons), 3 on/off switches (Mains on/off switch already had a slot, but I had to drill holes for accommodating the other two), USB/FM module in its socket and Mic in its hole. Then drilled holes and fixed the Amp Board and fixed its four control pots on the places provided on the Box. Then fixed the Speaker protection board in an appropriate gap with screws and provided a 7812 fixing it on the heat sink with screws. Wired power and speaker input/output to this board. Fixed MIC preamp board for two channels and wired them. Wired the input to the board from RC Sockets via the selector switches. Wired the power supply to the USB/FM board and audio input via the selector switch. In my excitement to finish the work and to know the result, I side tracked neat lay out and routing of wires, as a result of which, the wiring looked very clumsy and confusing. This confession is to avoid getting carping criticism, especially from one expert, who just does not bother about reaction when telling the facts! (And I love that, ok!) Now that I have taken an advance bail, let us have a look at pictures of the inside:
At-last, time came for me to check the performance of the set after a sweat generating tedious jobs! Applied power and was glad to see the delayed on Red LED blinking and then the power on green led remaining lit! I already had connected two speakers; so switched on the USB/FM module and was thrilled to listen to the FM hissing! Inserted a USB and played songs. Everything worked just fine, which includes the bass, treble and balance settings. I had fixed and wired the main volume control to the Master written on the box. The SUB written was used for the balance control with a large knob to match the space provided. The volume written on the bottom right was used for MIC control.
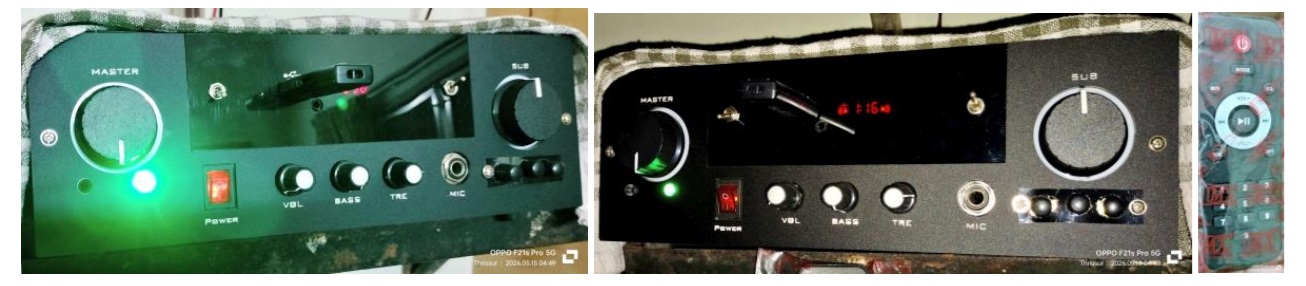
I fixed the amp in my Pooja Room to play devotional Mantras and Songs in the early morning, 5AM. The performance of the Amp was so superb that I patted myself on the back, when none was watching! The existing locally bought Amp was donated to an school boy who comes often to me for some short jobs.
My wife was thrilled to get this upgradation and used it for her evening prayers lasting for about two hours! Mission looked ended up bringing double satisfaction, which was more than enough to gain entry into the collection bag!

This article was prepared for you by Parasuraman Subramanian from India. He is 76 years old and has more than 30 years’ experience in handling antique equipment like Valve Radio, Amps, Reel Tape Recorders and currently studying latest tech-classes conducted by Kerala State Electronics Technicians’ Association. He has done graduation in BBA degree, private diploma in Radio Engineering and retired as MD of a USA company. Presently working as Consultant to Hospital and other institutions.
Please give a support by clicking on the social buttons below. Your feedback on the post is welcome. Please leave it in the comments.
P.S-If you enjoyed reading this, click here to subscribe to my blog (free subscription). That way, you’ll never miss a post. You can also forward this website link to your friends and colleagues-thanks!
You may check on his previous article on Fungus Attack And Failure Of Crystal Brought Back This Yamaha Receiver Amplifier RX-V485
 (41)Dislikes
 (0)
(0)
10 Comments
Leave a Reply





Albert van Bemmelen
August 1, 2026 at 3:48 pm
Happy to see that you still managed to find time to create such a magnificent amplifier with all nice added audio options!
The audio performance of this assembled amplifier no doubt must be excellent! The Missus already enjoyed using this 350 watt rms amplifier for about 2 hours which is a good sign!
Parasuraman S
August 1, 2026 at 5:32 pm
Many thanks for your expert comments and encouragement, dear Albert!
Yogesh Panchal
August 1, 2026 at 3:53 pm
Good Job! Sir
Assembling a device is a very exciting task when the results exceed our expectations. This reminds me of the days when sound systems used to be assembled for auto-rickshaws, and of assembling CRT TVs.
Parasuraman S
August 1, 2026 at 5:33 pm
Yes, we all have enjoyed such occasions in the past and we need to recall it once in a while! Many thanks, Yogesh Bai!
Mark J
August 2, 2026 at 2:28 am
Great job Parasuraman. Your are right. It is enjoyable to work on electronics from the past.
Parasuraman S
August 2, 2026 at 8:18 am
Many thanks, dear Mark!
Philip
August 2, 2026 at 5:15 pm
1. Please help me more here - Wired the power supply to the USB/FM and audio input via the selector switch. 2. As for HIM, his focus remains razor sharp at any particular article or comment. He without failure gives credit where it is due. Whenever his watchful eye catches a mistake, he without delay points it out, justifying with a boost of his deep knowledge and vast experience in matters electronics. His sophisticated tools of trade always leave me wondering what it is I am doing in the electronics repair field. Its the kind of paraphenalia I will never lay my hands on, leave alone setting my eyes on it. His immense contribution here has taught many of us and never goes unnoticed. His eyes of scrutiny never give grammatical errors a chance to escape. He is often EARLY BUT critical.
Parasuraman S
August 2, 2026 at 8:39 pm
The selector has an option for Aux in, Mic in or USB/FM board in. That is what I referred to. Yes the HE referred to by you is a powerful man with a lot of stuffed knowledge and experience and that is why I call him the expert always! Yes, I bow in complete regard and respect to this genius personified man!
Hollis LuQuette
August 4, 2026 at 2:03 am
I love what you did with that project , back in the early 1980's I assembled a few kits from one of the magazines I used to subscribe to ...... I don't think mine ever looked as good as your project came .... It's a great looking unit ...
Parasuraman S
August 4, 2026 at 5:35 pm
Many thanks for your comments of appreciation. In fact, I wanted to lay the inside wiring as well as boards in a proper and orderly way. But paucity of time is a big hurdle!