
BA Falcon Interior Command Centre No Power Repaired
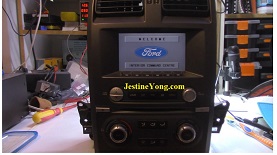
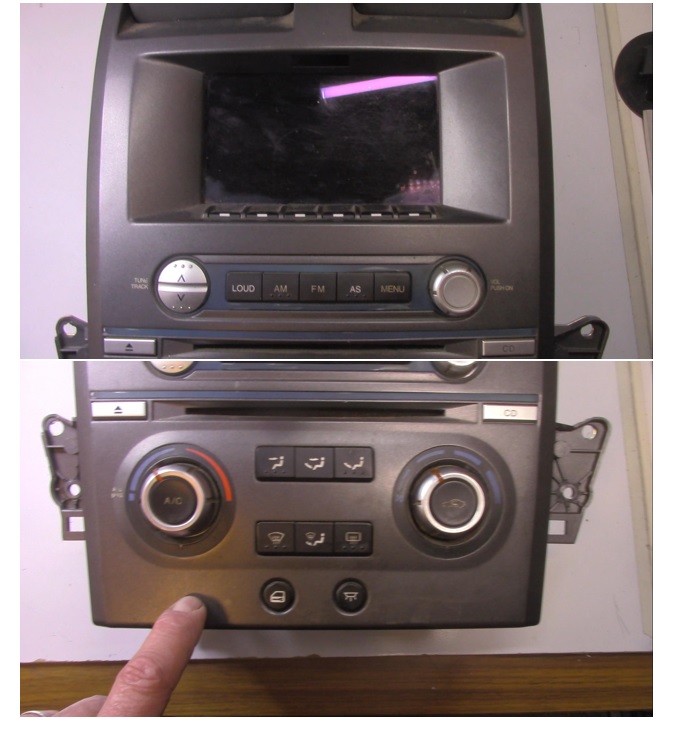
A customer brought this Interior Command Centre into my lab for repair. He had purchased it from a vehicle wrecking yard, but it did not work.
This unit not only controls the audio system of the vehicle, but also the HVAC (Heating, ventilation, and air conditioning, interior lighting as well as part of the immobiliser system of the vehicle. He’s a busy guy! It is also on the CAN network, which communicates with other modules on the BUS.


Firstly, after examining the wiring diagram, I determined that to power-up the unit, supply voltage must be supplied to pins 7, 8, & 35. A ground supply needed to be supplied to pins 18 & 15.
After connecting to my bench power supply, the customer’s complaint was confirmed – the unit would not power-up.


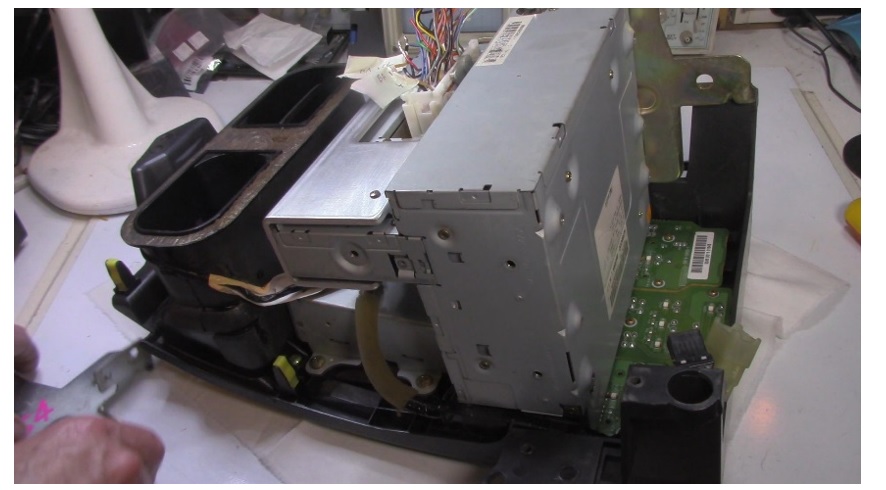
Now it was time to disassemble the unit. All external covers had to be removed as well as a large number of screws holding them in place.
The CD section of the unit needed to be separated from the power supply and ribbon cables had to be carefully removed.
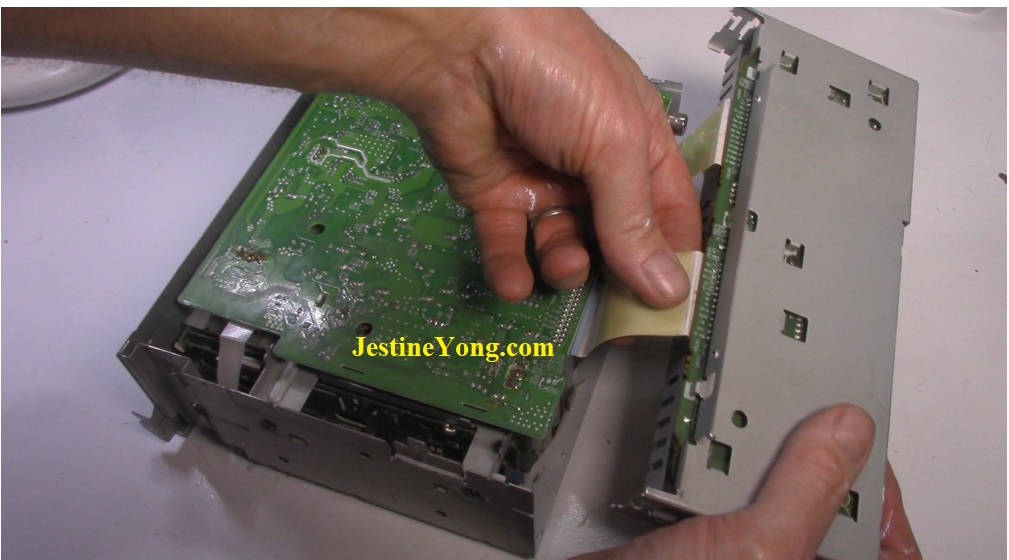
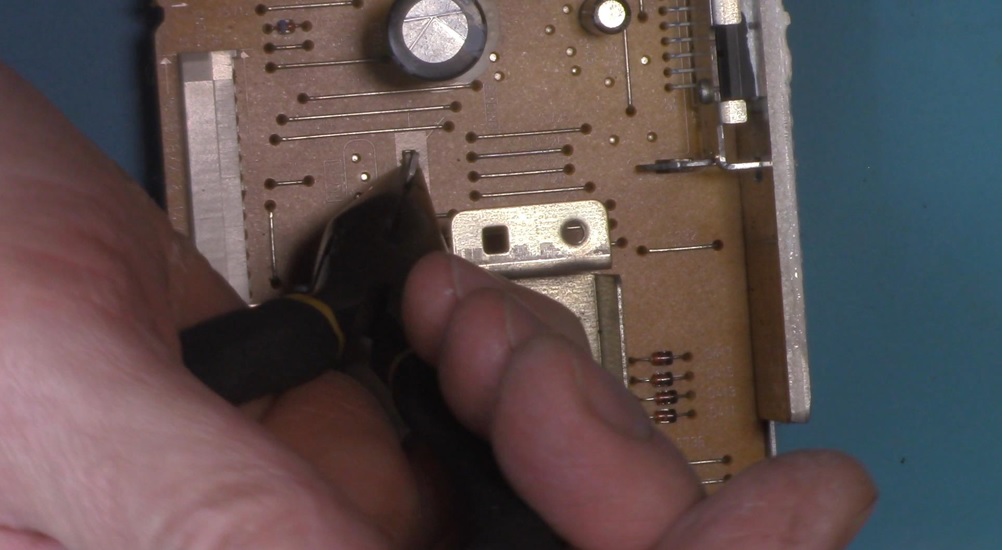
Once the power supply was isolated, the circuit board was removed by twisting several ‘tabs’ holding it in place. This was done by twisting the metal with pliers.

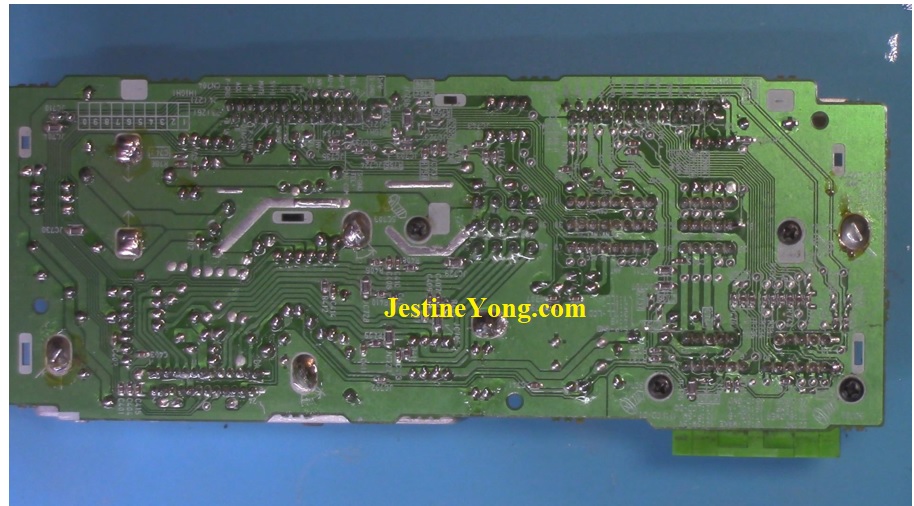
Now that the circuit board was clearly exposed, I placed it under the digital microscope. Circles could be seen around most through hole joints, indicating ‘dry solder joints’.
As I worked my way around the board, the main fault became obvious. The B+ main power feed had clearly had some sort of high current at some point. The solder had melted and the terminal had no contact with the board. The more I looked, the more solder joints I found needing attention.

The only solution for a long term repair was to solder every through hole component. By careful use of flux, solder and correct amount of heat, I felt confident of the repair.
Cleaning up any remnants of flux with Isopropyl Alcohol, a toothbrush and paper towel, created a quality repair.
After reassembly, power was once again supplied to the unit and the display came up on the screen.
After installation to the vehicle, simple programming matched the specific security code to the vehicle.

If you are interested in this repair, you can see a video on my channel following the link below:

This article was prepared for you by Mark Rabone from Australia.
Please give a support by clicking on the social buttons below. Your feedback on the post is welcome. Please leave it in the comments.
P.S- Do you know of any your friends who would benefit from this content that you are reading now? If so, forward this website to your friends or you can invite your friends to subscribe to my newsletter for free in this Link.
Note: You can check out his previous repair article on Yamaha RX797 AMP Repair
 (48)Dislikes
 (0)
(0)
12 Comments
Leave a Reply


Parasuraman S
January 6, 2024 at 1:34 pm
Vow! That was a laborious job that you did! I'm very glad to read an article from you after a long time! Hope you are doing well, dear! Good job and thanks for sharing!
Mark
January 6, 2024 at 4:44 pm
Hey Parasuraman,
Yes it has been a while since I have written an article. Keeping very busy with teaching at the college, writing for automotive companies and running my automotive workshop. I would like to do more electronic repairs, but there is only 24 hours in the day!
Waleed Rishmawi
January 6, 2024 at 1:48 pm
Thanks for sharing this article and the video of it. It was fun to watch and read. Have a blessed day
Mark
January 6, 2024 at 4:45 pm
Thanks Waleed,
I enjoyed the repair and as usual, have learnt a lot!
Albert van Bemmelen
January 6, 2024 at 4:46 pm
Chances to successfully being able to fix devices like these are slim but you did this tedious job with excellent result! Thanks for sharing and nice to see you are still busy fixing electronics.
Mark
January 7, 2024 at 7:29 am
You are right Albert, you have to double check every joint to make sure it has good continuity. These are a common problem.
Yogesh Panchal
January 6, 2024 at 5:59 pm
Good Job! Mark
Mark
January 7, 2024 at 7:29 am
Thanks Yogesh
Yogesh Panchal
January 6, 2024 at 6:01 pm
Nice Video as well
Mark
January 7, 2024 at 7:30 am
Thanks Yogesh
Charles Duncan
January 6, 2024 at 7:17 pm
Excellent repair. Those units are not easy to work with.
Mark
January 7, 2024 at 7:30 am
Thanks Charles,
Yes they can be a challenge