
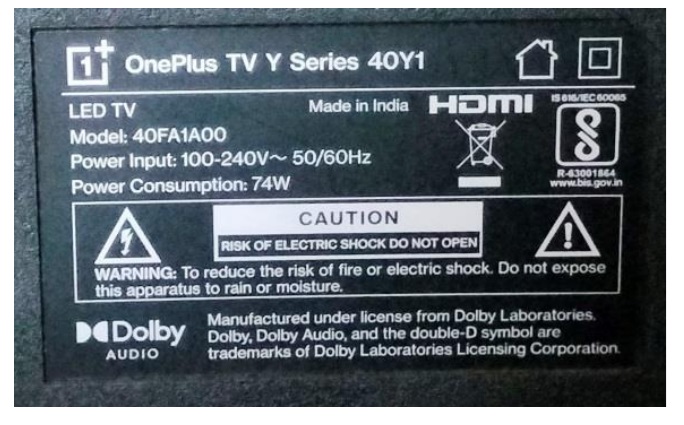
The Labour Pain Of Replacing Backlight In A Frameless LED TV – Make 1PLUS – 40FA100
This TV was brought by a new customer as per recommendation of one of my regulars. The complaint reported was that suddenly the picture went off, but sound was ok. Evidently, it could be a case of backlight failure. I checked the complaint in front of the customer and confirmed it. I also took an advance bail about the risks involved in removing the panel, in case the backlight needed replacement, especially when this was a frameless TV. But customer was very nice and asked me to go ahead provided the estimate did not go beyond an amount specified by him. As I thought it could not be a problem to do the replacement within the budget he had, I accepted the work.
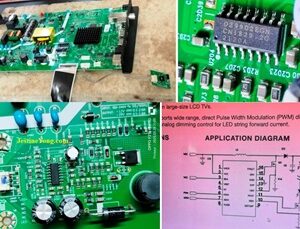
I opened the TV and subjected it to a thorough cleaning. The combo board PCB was fit on the back cover and we need to hold it vertically to detach the LVDS cable and LED power supply connector before it could be lifted off. What a crude design! The LED got lit when checked with the LED tester. I reconnected the LVDS cable and LED connector after keeping the PCB safe on a thermocol sheet and checked the LED driver side and downloaded its data for checking purposes:

Pin 2 was getting 12V VCC. Connected a multimeter in volt range and checked the voltage building up across the LED connections. In this, the Driver was switching on the ground for the LEDs once all self-checks were ok and it got the power on from the mother board. The power on of around 3V was stable. The driving voltage was building up and dropping, which indicated that the inverter was definitely working fine. It had something to do with the backlights.
That’s when the labor pain started! (LOL) Removed the bottom cover and detached two inter-connected scalar boards, peeling off the grounding wire gauze tapes. Then inserted a thin strong plastic sheet between the panel and its holding double sided tape and gently detached the panel on all the three sides working my way from left to right slowly and steadily. Checked again to ensure that the panel indeed was detached from its frame. Then used another large size thermocol sheet inserted it underneath and transferred the panel onto it for carrying it in for storage in a safe place, which once again was my son’s bed as he was not in town. Then removed the diffuser and reflector sheets one by one.
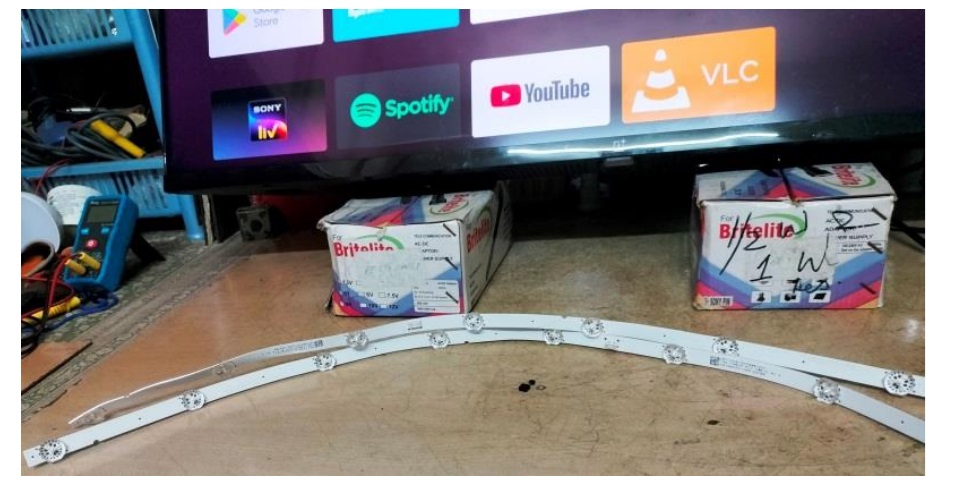
There were two diffuser sheets and one reflector. Finally I could see the LED strips stuck by double sided tapes:

Detached the connectors and checked each strip separately to know what was wrong with it.
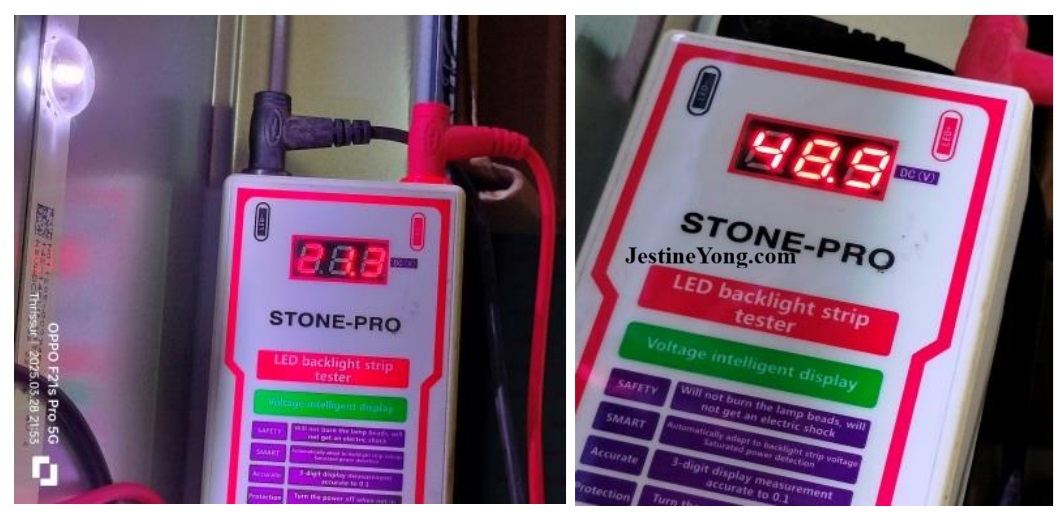
As you can see, one strip was showing 21.3V volts and another was showing 48.9V which definitely is not correct. The consumption of both the strips, 8LEDs of 3V each should be in the order of 24V or nearer. So, the backlight indeed was the problem. I peeled off the LED strips and went to the market and obtained exact replacement. The residue of gum on the back cover (see arrow on first picture below) should invariably be removed and cleaned:

I used IPA and glue remover to clean up the area very well. It took quite some time before the surface was smoothly clean. Then gently and firmly peeled off the panel fixing tape from the frame, which was not a problem as it came off easily (Please see second picture above to see the old panel fixing tape.) Then fixed a fresh double sided tape on the new backlight strips and fixed it on the same place which had protuberances to hold it firmly. The LED strips had cuts to seat properly around these. Please see spots marked in the picture below:

This arrangement is made by the designers to ensure that the LEDs are appropriately placed for even distribution of the light across the panel. Slight displacement either by elevation, angle or direction might affect the even distribution affecting picture quality. The LEDs lit brightly when connected to the mother board for testing purposes. Incidentally, the mother board gets on even if the panel is not connected in this set.

Replaced the reflector and diffuser sheets back in its place. Since there is an elevated frame around the back cover to hold the panel, the reflector sheets had to be inserted underneath that frame. The diffuser sheets were inserted into the same groove from the bottom and positioned properly inserting the bottom ends to the elevated slots provided for this purpose. (See arrow mark on third picture above). Perfect alignment of the sheets is also equally important for even brightness. The next step was to fix fresh double sided tapes on the frame where the panel would be seated. Took care of fixing the tape in its place on all the three sides and pressed it down firmly for a proper contact. I did not peel the top protection of the tape at that time. Next step was to remove the residual gum stuck on the panel. This really was a problem, as it did not come off like how it did when I peeled it off from the frame. I could not use any type of glue remover in that area as two glasses are fit tightly with liquid crystal in the middle and if the remover causes any chemical reaction to cause a leak, it would enter inside, upon which a large patch would from in the area. I could not use any metal tools like blade or knife etc. as it would detach the bonded glass once again resulting in LC leakage. Just see the kind of trouble one has to take for replacing a backlight on this type of TV. Usually, the gum would come off easily, but in this TV, it was stubbornly stayed put. So, I had no other go, but to invert the panel, for which I had to take extreme precautions and keep it upside down.
Then used my finger tips to rub off the gum little by little. I had to change my hands and fingers as each organ used as tool ached after some time. I had to be very careful not to apply force directly down on the panel as otherwise; it would break with a ‘tic’ noise. This took several hours and finally it was done! I took breaks as and when my hands ached and felt fatigued. The focus and concentration required and the fear of breaking the panel all caused real tension and at times, I regretted why I ever accepted this type of work. Let us have a look at the residual gum (second picture below marked by an arrow) and how it turned out when cleaned rubbing it out by fingers. (I am also giving a picture of the double sided tape used for the frame. Arrow shows the tape path):
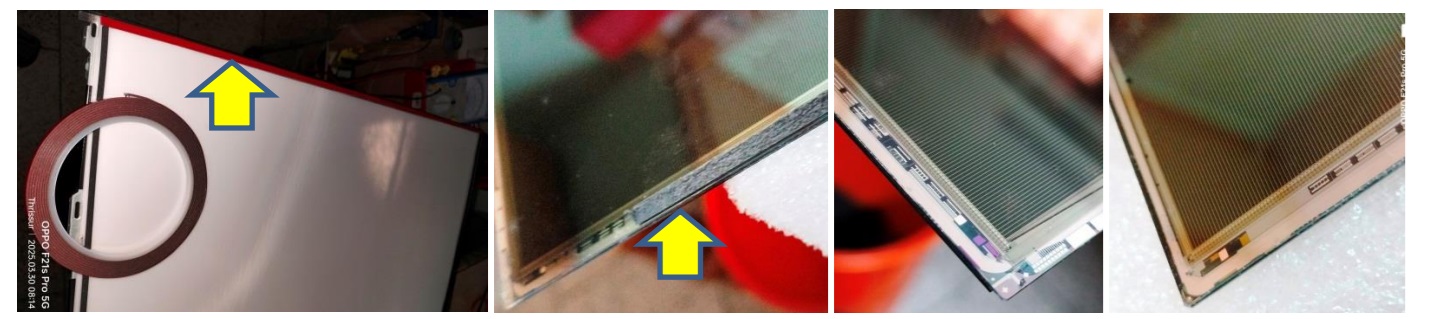
If you zoom the last two pictures, you can even see the two layers of glass and the tracks of wiring of the panel. Those two photos would show you how important it is for us to take all precautions while peeling away the old tape and its gum from such an area and why one should not use any metal tools or chemicals for that purpose. After doing all those exercises, I transferred the panel onto the frame and kept it in place and checked whether it was seating properly on all the four sides. Then lifted one top corner of the panel and slightly peeled the top protection of the tape going to both sides. Did the same on the other side too. After rechecking that the panel was firmly in place, peeled of the top portion of the tape fully from all three sides and gently pressed the panel down using a cotton piece. (In the first picture above, you can see the tape with its top covering not peeled off, in red colour. Repeated this a few times so as to ensure proper bonding of the panel with the glue, which was exposed when the protection was peeled off. Then put a small length of transparent tape across the two top corners and in the centre in order to ensure that the panel stayed put when I had to tilt it upside down for connecting the scalar board back to the mother board for checking. The risks involved in such panel removal and replacement include COF developing loose contacts, partial or total ripping off or intermittent contact problems. Since the TV works with very high temperature, the bonding chemical get dried over a period of time and might be in the brim of breaking off. So, when we manually remove them from its holding tapes and tilt it the other way to tape it onto the panel for minimizing the strain when we move the panel, the inherent defects might develop further and become a problem. Here you can see the panel tilted and the scaler boards stuck back in its original place:
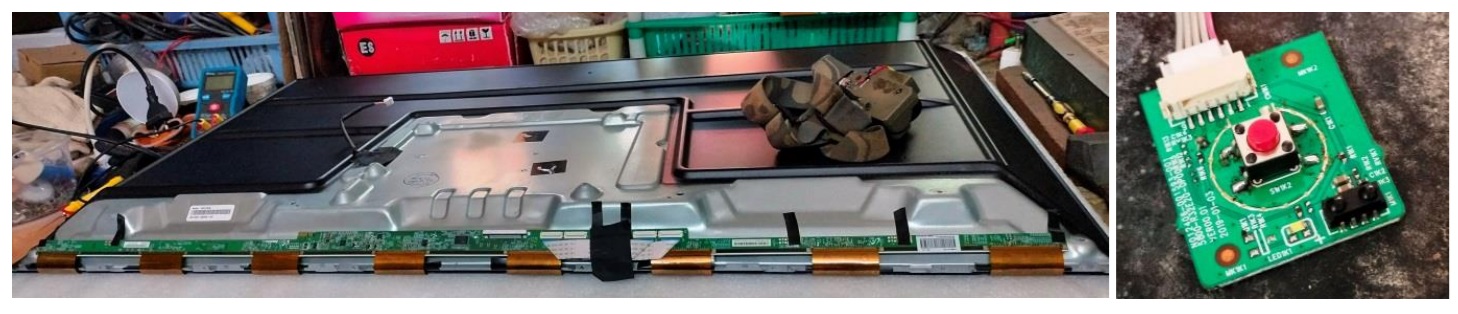
The on/off switch was found broken when I removed the sensor unit and I had to replace the same, which you can see in the second picture above. (I had to take the switch out later as the height was more and cut the legs and re-solder it.)
After connecting the mother board, I prayed to God for a good result and switched the TV on and sure enough, the prayers were answered and indeed my efforts were rewarded suitably.
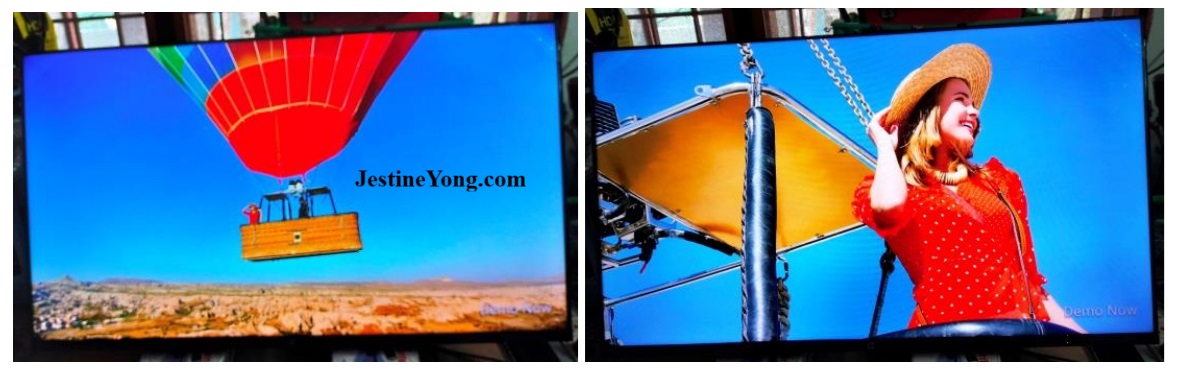
I thanked the God and sighed a long relief from the labor pains undergone in bringing back this TV to working condition.
I allowed the TV to run for several hours before calling the customer to come and pick it up. Here is the final picture to wind up the long story and to declare that the utmost satisfaction with great relief found its entry into the collection bag.

This article was prepared for you by Parasuraman Subramanian from India. He is 74 years old and has more than 30 years’ experience in handling antique equipment like Valve Radio, Amps, Reel Tape Recorders and currently studying latest tech-classes conducted by Kerala State Electronics Technicians’ Association. He has done graduation in BBA degree, private diploma in Radio Engineering and retired as MD of a USA company. Presently working as Consultant to Hospital and other institutions.
Please give a support by clicking on the social buttons below. Your feedback on the post is welcome. Please leave it in the comments.
P.S-If you enjoyed reading this, click here to subscribe to my blog (free subscription). That way, you’ll never miss a post. You can also forward this website link to your friends and colleagues-thanks!
You may check on his previous article on Replacing Backlight In A Frameless LED TV Is A Complex Work – IMPEX MODEL 50UFX2AC11
 (37)Dislikes
 (0)
(0)
14 Comments
Leave a Reply


Albert van Bemmelen
December 6, 2025 at 4:55 pm
Another successful carried out backlight replacement job!
Maybe you like me also should buy a decent Glass Vacuüm Sucker lifter to make lifting those glass plates so much easier. Since you already fix so many laborious tv problems you just should buy such a very handy and safe tool here.
It sucks perfectly flat and safe vacuüm onto any size glass panel and simply releases its grip by just pressing the button on the frame after the plate was moved to a safe place. They can be adjusted to the right panel size of the screen. And for preventing damage to the flex strips they also silicon suck sell strip retainers. Also magnetic supports are available to lift the metal backpanel up from the table when it is turned upside down to be able to remove the glass panel without breaking anything.
Parasuraman S
December 6, 2025 at 8:46 pm
Many thanks! There are risks involved in using such vacuum suction lifters. Any small leak or over pressure can break the glass, especially very thin glasses such as that of 4K panels. I have seen glass bending and breaking in my techiefriend's place because of the sucking power. These are locally available, and I do have single pieces with me which can be combined for use. But I don't dare to use it! Many thanks for your expert comments and suggestions, dear Albert!
ANTHONY PATERSON
December 6, 2025 at 7:55 pm
An incredible saga of technical fortitude with nail-biting tension throughout. Only an engineer of your knowledge and experience could achieve this outcome. Very well done.
Parasuraman S
December 6, 2025 at 8:46 pm
Many thanks for your involved comments and encouragement!
Yogesh Panchal
December 6, 2025 at 10:51 pm
You are right sir,sucking cup are risky when using on big screens.
Parasuraman S
December 7, 2025 at 9:05 pm
Thanks, Yogesh Bai!
Mark J
December 7, 2025 at 5:20 am
Parasuraman your the backlight replacement expert. Thanks for sharing.
Parasuraman S
December 7, 2025 at 9:06 pm
Every opportunity that we get is a teaching and, in that sense, I am still a student learning one thing or other! Many thanks for your comments, dear Mark!
Philip
December 7, 2025 at 8:25 am
GOD BLESS YOU.
Parasuraman S
December 7, 2025 at 9:07 pm
God bless you too! Many thanks!
Imoudu.O
December 8, 2025 at 5:26 am
1)"I also took an advance bail about the risks involved...." what does this mean?
2)Can this frameless panel removal be done on a dining table?
3) l wonder why the Voltage of one of the led strips should go up as high as 48.9V....any hint?
Thanks sir
Parasuraman S
December 8, 2025 at 4:28 pm
1) Cautioned the customer about development of panel defects and took their consent.
2) Definitely!
3) Increasing internal resistance.
Many thanks for your queries!
Robert Calk Jr.
December 13, 2025 at 5:43 pm
Good job, Parasuraman! How are you doing my friend?? I was wondering if you checked to see if one or more LED's had bad solder connections. I'm just curious.
Tito Kanshulu
December 15, 2025 at 12:11 am
Mr Parasuraman, your explanation is really to every ear of a technician here in the group. You really do it in a Reverend way on the pulpit. I like the style myself. Thanks once more for another article