
Replacement Of 100W LED In ECOLINK Commander Garden Light


This Garden Light was brought to me with the complaint that it was flickering and one side was off. I applied power and confirmed that the complaint was correct. As you might notice from the first picture there was a protection glass with a covered frame. The bottom portion with four screws housed the LED driver. The glass was fixed with some sort of hard rubber glue which cannot be removed without getting an access to the bottom of the glass. Any attempt to lift it by inserting knife or such thin metal tool through the sides would only chip or even break the glass. So, the only way was to cut the top portion of the side frame, expose the bottom side of the glass in that portion to insert a thin knife and cut away the gum from its bottom.
Following pictures would show you the angle cutter that I used to make teeth in the frame and how I plucked away the pieces with a special angle headed player exposing the bottom of the glass.

I did this work in the covered washing area on a tall metal stool to keep the frame in perfect level for the work. After clearing up the debris and cleaning up, I brought the light to my table for the next step. I applied tar remover liquid on the exposed sides and allowed it to set in and inserted a thin knife and worked my way from one end to the other end cutting the very hardened glue. I had to hammer it in certain places. Due care was taken not to chip or break the glass.
After that portion was detached, I inserted tip sharpened metal scale into the slot and cut the sides. Please see the third picture above. I used a fiber hammer to gently work the way to the bottom on both sides of the glass to detach the glue. After repeating the insertion to make sure that the glass was detached from all the three sides, the scale was inserted into the bottom side and again gently hammered in from one side to the other side. Then the thick glass was gently lifted from all the three sides and detached. A picture of that is given below:

Then I removed the LED driver and the reflector sheet, desoldered the DC wires from the LED strip, and cleaned the inside thoroughly. Chipped off the all the LEDs from the strip and made it bare to serve as a heat sink for the new direct driven LED strip that I fetched from the market taking the old one as sample. The second picture above is that of the bare strip. As the new 100W LED strip was working directly from the 230V AC in, I provided wires for it with heat shrink sleeve where these go through a hole in the bottom of the LED driver housing. The AC in was joined to a six screw connector like in many electrical lamps. The third pin was grounded to the chassis. The red and black wires were used for AC in. Let us have a look at this:

The old LED strip was fixed with its screws and the new strip affixed on it using a double sided tape that are normally used for LED backlight fixing and that is what you see on the top in the above image.
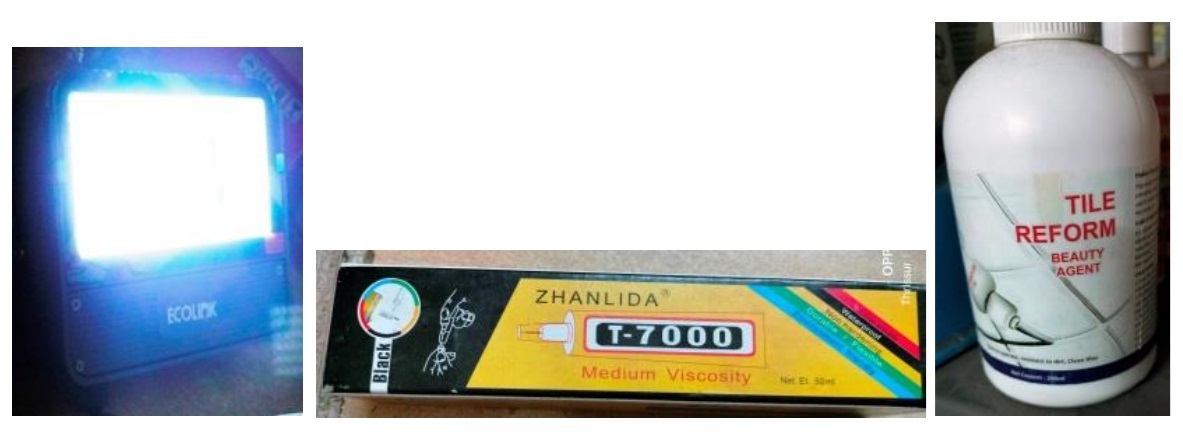
The lamp was tested with power in and found to be giving out very bright illumination. Then I fixed the glass with the two side clamps and applied sealants, pictures of which are given below:
Mission accomplished with vigor, enthusiasm and utmost satisfaction that got entry into the collection bag!

This article was prepared for you by Parasuraman Subramanian from India. He is 76 years old and has more than 30 years’ experience in handling antique equipment like Valve Radio, Amps, Reel Tape Recorders and currently studying latest tech-classes conducted by Kerala State Electronics Technicians’ Association. He has done graduation in BBA degree, private diploma in Radio Engineering and retired as MD of a USA company. Presently working as Consultant to Hospital and other institutions.
Please give a support by clicking on the social buttons below. Your feedback on the post is welcome. Please leave it in the comments.
P.S-If you enjoyed reading this, click here to subscribe to my blog (free subscription). That way, you’ll never miss a post. You can also forward this website link to your friends and colleagues-thanks!
You may check on his previous article on A Dead SONY Radio Model ICF-SW11 Restored To Best Working Condition
 (35)Dislikes
 (1)
(1)
8 Comments
Leave a Reply


Albert van Bemmelen
February 7, 2026 at 5:34 pm
This must have been yet another hard to disassemble led light repair.
Given the heat generated by the 100 Watt leds I keep wondering if the used double sided tape with the used T-7000 glue will be safe in the long run since the garden light is no doubt entirely closed (to protect it from dripping in any rain)?
Parasuraman S
February 7, 2026 at 7:26 pm
I have advised the maintenance staff not to keep it open in Sun or Rain and fix it only under a roof covering without losing its angle. They are doing that and there are no issues reported so far in the many lights that I have repaired and given. Many thanks for your expert comments, dear Albert!
Yogesh Panchal
February 7, 2026 at 5:45 pm
Good another fix! Sir,
LED replaced look like COB?
Parasuraman S
February 7, 2026 at 7:27 pm
Yes it is DOB; i.e., driver on board! Many thanks, Yogesh Bai!
ANTHONY PATERSON
February 7, 2026 at 6:43 pm
Parasuraman, your ingenuity knows no bounds and your enthusiasm to keep old hardware alive. I'm not sure how the old LED sheet can act as a heats when the new unit is separated by double-sided tape?
Nevertheless another'shining' example of your tenacious workmanship.
Parasuraman S
February 7, 2026 at 10:20 pm
The double sided tapes are heat absorbing type used in LED TV backlights. They can conduct heat to the bottom and help dissipate it. Many thanks for your comments!
Mark J
February 8, 2026 at 4:33 am
Parasuraman good repair and craftsmanship. Thanks for sharing.
Parasuraman S
February 8, 2026 at 8:24 am
Many thanks for the comments, my dear Mark!