
Dull Display Problem Solved In AMIGO Patient Monitor Model MM1121

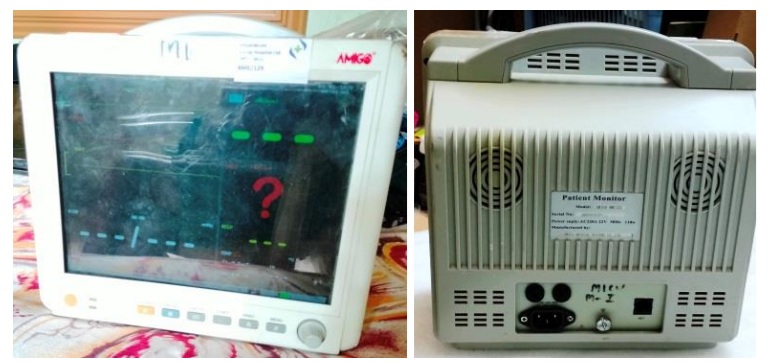
This monitor was brought to me with the complaint of dull display. I dismantled the device to troubleshoot and rectify the suspected backlight issue.
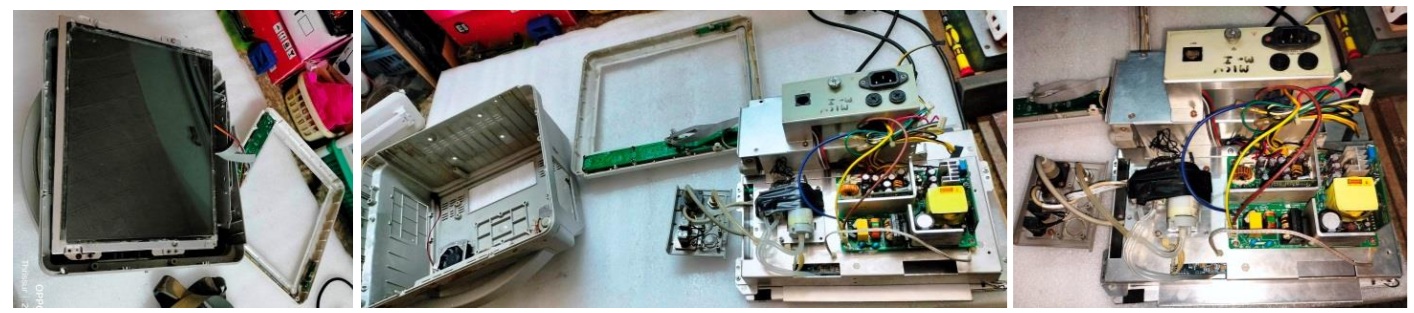
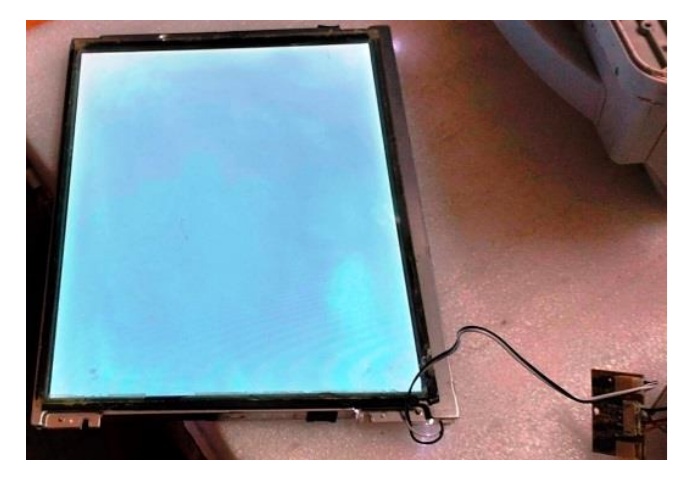
The display unit could be detached after removing the LVDS cable and LED power wires. I pulled out the LED unit after removing one holding screw.
It was connected to an LED driver board that used a single IC (PT4119) which steps down the voltage and current suitable for the LED strip. The board was under the metal sheet. Let us have a look:
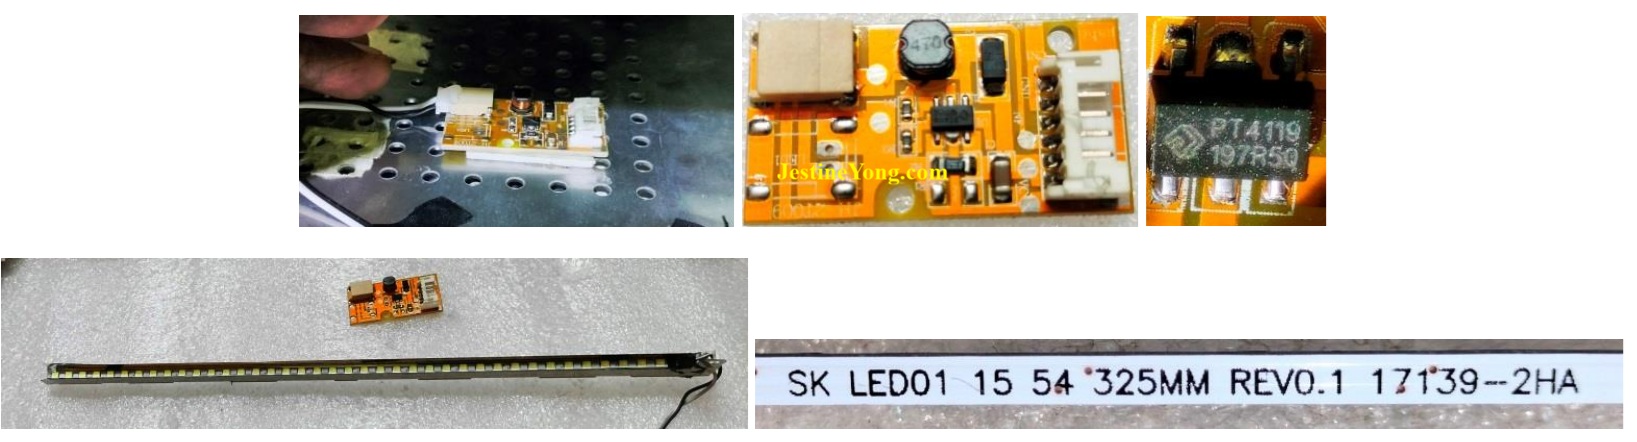
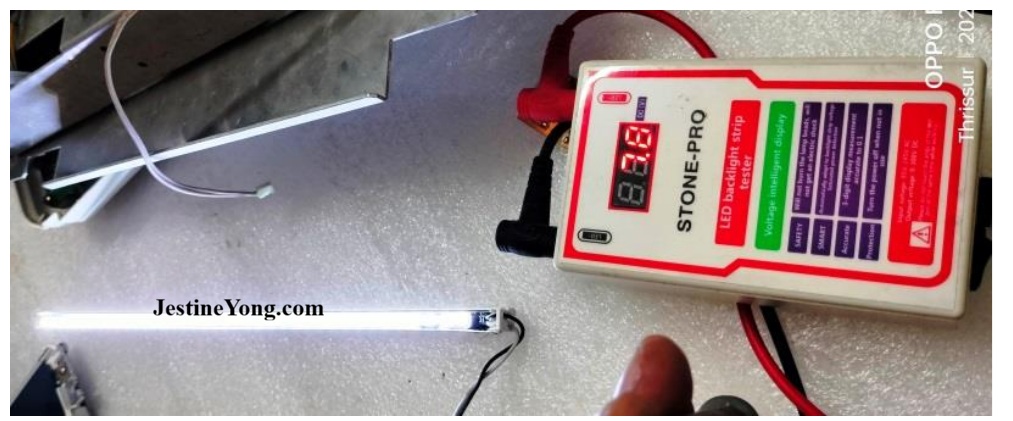
I tested the LED strip with the tester and found it to be working with a reading of 7.8V:
There was no flickering or dullness. Naturally the suspicion was on the driver board. I checked the components on the board for any leak, open or short and did not find any. I connected the LED strip and applied 12V DC and found the light was very dim. So, either the IC or the coil was defective.
Instead of wasting time on the board, I replaced the board with a new one from my stock. Then re-inserted the LED strip and fixed with its screw and wired it to the new board keeping it at bottom corner for easy accessibility instead of pasting it on to the metal like how it was before. Then applied power and found the Panel brightly lit. I did not connect the LVDS cable at this time:
Then re-assembled the monitor and fixed the bezel as how it was before. I allowed the monitor to run for sufficient time to make sure that it was ok.

Click here to check out Humphrey’s ebook on Mobile Phone Repair
Mission accomplished with ‘medical’ satisfaction getting added to the bag.
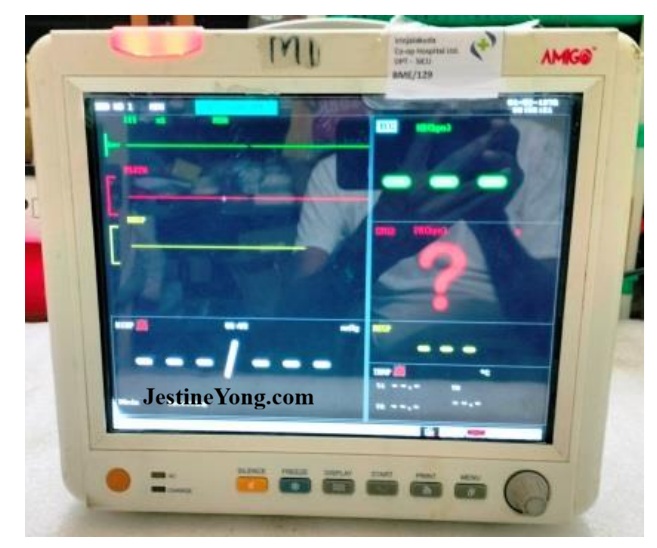
Don’t worry! The display shown is without connecting the accessories of the monitor to a human being.
So, don’t do any RIP! (HA HA)

This article was prepared for you by Parasuraman Subramanian from India. He is 76 years old and has more than 30 years’ experience in handling antique equipment like Valve Radio, Amps, Reel Tape Recorders and currently studying latest tech-classes conducted by Kerala State Electronics Technicians’ Association. He has done graduation in BBA degree, private diploma in Radio Engineering and retired as MD of a USA company. Presently working as Consultant to Hospital and other institutions.
Please give a support by clicking on the social buttons below. Your feedback on the post is welcome. Please leave it in the comments.
P.S-If you enjoyed reading this, click here to subscribe to my blog (free subscription). That way, you’ll never miss a post. You can also forward this website link to your friends and colleagues-thanks!
You may check on his previous article on Beware Of Using Auto Detect Auto Range Multimeter – Case Of AHUJA Portable PA SYSTEM NBA-30WL
 (34)Dislikes
 (0)
(0)
10 Comments
Leave a Reply


Albert van Bemmelen
March 28, 2026 at 4:00 pm
After reading your excellent repair I sadly missed the photo or detailed info showing the mentioned led driver board that you had new from one in your stock.
The hospital monitors they use look like fine 4:3 screen format monitors. Those also would be excellent for connecting to retro-computers like the Commodore C64/128, Amiga or ZX-Spectrum depending on what video input ports they have. If they have 9 or 15 pin VGA input ports, or maybe SCART input too, that would be a direct perfect match!
I mention this because those old 4:3 crt monitors for retro computer users are no longer made and new led monitors now mostly are only in the 16:9 screen format.
Parasuraman S
March 28, 2026 at 6:14 pm
Many thanks for your expert comments and suggestions, dear Albert! The photos are given under the third paragraph, which comes after an advertisement. Kindly try zooming!
Albert van Bemmelen
March 29, 2026 at 12:48 am
Sorry but that new led driver board you used to replace the bad led driver board is still not showing in any photo apparently.
Parasuraman S
March 29, 2026 at 8:27 am
It is the same board, but new. That is all the difference, dear Albert!
Albert van Bemmelen
March 29, 2026 at 7:06 pm
So that must be the JH-2T009 module of which one led driver connector was removed. This one here: https://nl.aliexpress.com/item/10000414406611.html
That was what I needed to know but only found after the extended browser Aliexpress photo search.
Albert van Bemmelen
March 29, 2026 at 9:07 pm
If I'm right the wider white connector has these wire inputs: Pin1+2 = Vcc, Pin3 =On/Off, Pin4 =Adj brightness, Pin5+6 = GND.
Something that also was in detail missing. And these led driver boards are often used as keyboard led drivers like the CA-133 module.
Yogesh Panchal
March 28, 2026 at 6:55 pm
Good Repair!Sir
sadly IC is not available easily.
Parasuraman S
March 29, 2026 at 8:28 am
Yes and it is not worth hunting for it. Many thanks, Yogesh Bai!
Mark J
March 29, 2026 at 3:27 am
Is there nothing you can't fix? Good job on the repair Parasuraman.
Parasuraman S
March 29, 2026 at 8:29 am
There are number of sets that I could not repair, a few of which I have already shared here. But the lessons learnt enrich our knowledge and confidence to surge ahead. Many thanks for your encouraging comments, dear Mark!