
Multiple Problems Faced In Golden Cook Induction Cooker Model ET-2000-NC2

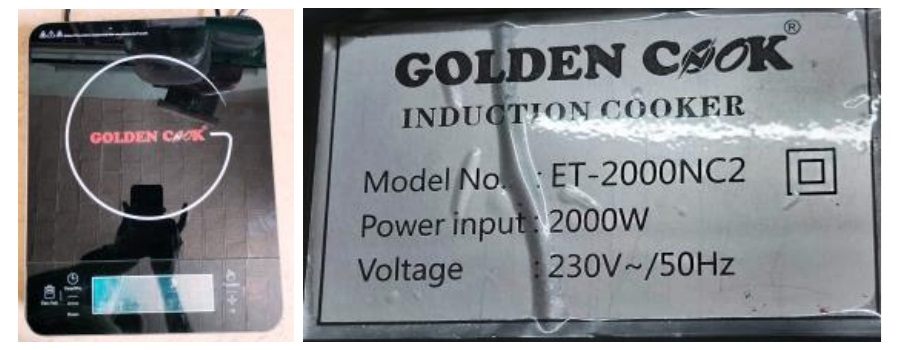
This induction cooker was brought by a technician with the complaint that it got on, but no functions worked from the touch panel. He had even changed the CD4051B multiplexer IC used in the control panel. He could also not solve the problem of backlight failure of the LCD. I have learnt from my experience that a work on an Induction Cooker should start from checking all the components related to pulse generation, for which high wattage resistors and 8050/8550 transistors are used, the feedback circuit etc. While the main board was more or less same that you can see in many Cookers, the specialty of this Cooker was that it had a large LCD display which looked very impressive.
The finish of this Cooker looked very impressively new even though this was in the market almost ten years back! As the inside of the cooker was clean enough, I just disassembled the two boards and straightaway went for cold tests. Let us have a look at the boards:
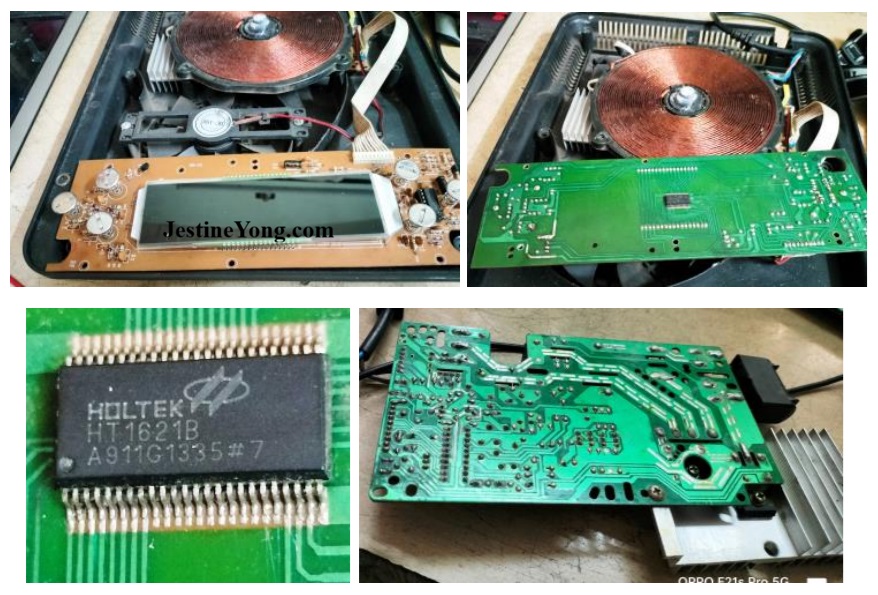
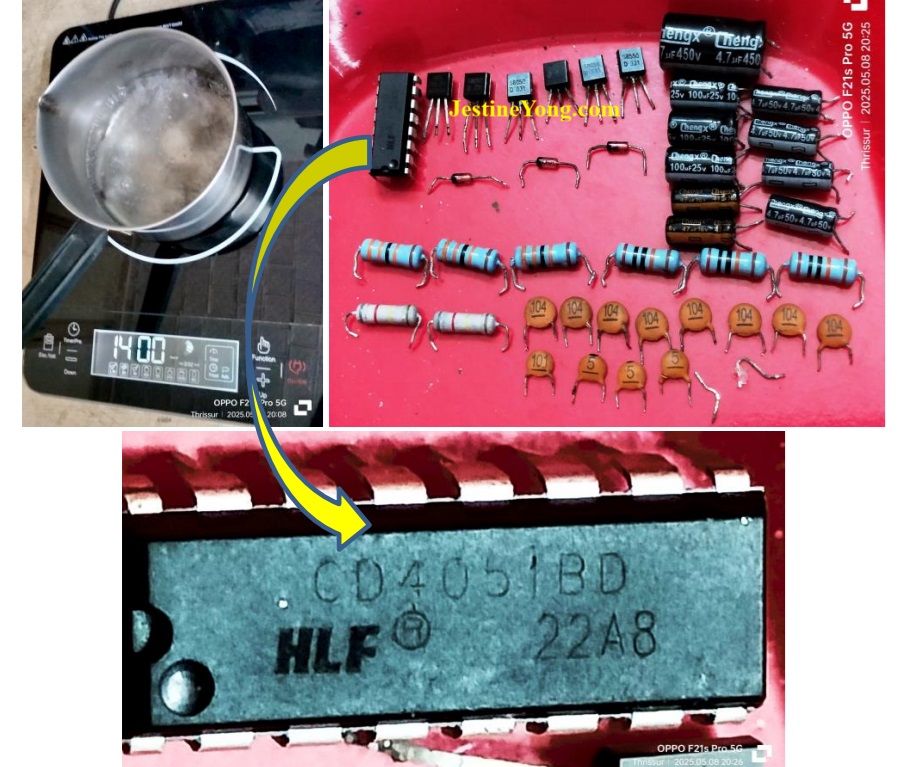
When I checked the high watt resistors, all of them were found high. So replaced the 330Ohms, 200K (Used two 100K in series), 820K resistors, all the electrolytic capacitors, 8050/8550 transistors, 78L05 regulator and 18V Zener diode which is a routine preventive maintenance to be done in such cookers. He had already replaced the IGBT, black high voltage capacitors and had done a few dry solder patch up too. But that was not good enough. I did a thorough retouch of both the boards and the LCD controller IC HT1621B shown in the above picture. After cleaning the board with IPA and brushing it thoroughly, assembled them together and applied power. But the touch switch was not responding. So, disconnected the power, removed the control panel board and combed it thoroughly, sometimes lifting one leg of the suspected components. Found that all the eight 104 (100nF) ceramic capacitors were out of range. Three 5pF caps and one 101 (100pF) cap were also bad. Two IN4148 diodes had corrosion. Replaced all of them. Then reconnected the board and applied power, with a positive result. All the touch switches responded with error codes as no vessel was kept on top. Then focused on the backlight issue of the LCD. The driver transistor 9015 was already replaced by the other technician. I checked and found out that the collector voltage and driver voltage was present and the transistor was healthy when cold tested using an analogue multimeter in X1 range. Then checked the four LEDs and found that they are showing dead short. The four LEDs were fed positive voltage directly in parallel and the ground was controlled by the driver transistor. So, I cut the positive rail of the LEDs one by one and checked the short. The short was found to be on the last one checked.
As the LEDs were embedded inside the diffuser sheet at the rear, it was difficult to remove it even if I had taken out the LCD display. I did not venture to do so for yet another reason; the legs were all not healthy enough for a removal and refit! So, I desoldered the legs and plucked it out from the side using a player. A portion of it came out, the hole of which was good enough for me to direct the light into it from a new led. As I did not have a tiny flat white LED in stock, I used a normal one which had a lens in the front focusing the light to fall in a straight line. I covered the body with a black heat shrink sleeve, provided protective sleeves for the legs, and fixed it on the board bending it in perfect angle so that the light falls into the hole for even distribution. Then rejoined the cut tracks of all the LEDs and applied power. The backlight came on and I was glad to see the lovely LCD display, which was well designed. Let us have a look at the LED placement to follow the narration:

The sleeves on the legs prevented touching of components as the LED fit was crossing over. The first picture above is that of the test done on the LED using analogue multimeter in X1 range. Then assembled the boards back and applied power, keeping a pot of water on top. It boiled, which oiled my mind to be at ease! Can you believe that it took several hours of work though the narration is just over!
Fixed the boards and covers with screws, a few of missing ones provided from my collection and once again boiled water and tested all the controls on the board. The Cooker worked well which was proof enough to say mission accomplished and satisfaction got collected by the bag!

This article was prepared for you by Parasuraman Subramanian from India. He is 76 years old and has more than 30 years’ experience in handling antique equipment like Valve Radio, Amps, Reel Tape Recorders and currently studying latest tech-classes conducted by Kerala State Electronics Technicians’ Association. He has done graduation in BBA degree, private diploma in Radio Engineering and retired as MD of a USA company. Presently working as Consultant to Hospital and other institutions.
Please give a support by clicking on the social buttons below. Your feedback on the post is welcome. Please leave it in the comments.
P.S-If you enjoyed reading this, click here to subscribe to my blog (free subscription). That way, you’ll never miss a post. You can also forward this website link to your friends and colleagues-thanks!
You may check on his previous article on SMD Cap Found Dead Short In AHUJA Portable PA System NBA-30WL
 (40)Dislikes
 (0)
(0)
10 Comments
Leave a Reply


Albert van Bemmelen
January 17, 2026 at 6:44 pm
It is incredible how many parts go bad in induction cookers but you still as usual managed to find and replace all of them!
Parasuraman S
January 18, 2026 at 9:20 am
Many thanks for your encouragement, dear Albert!
ANTHONY PATERSON
January 17, 2026 at 7:24 pm
Parasuraman,
Another master-class on I repair. You are indeed the 'capacitor-man' who has limitless patience in finding a repair solution. We'll done Sir!
Parasuraman S
January 18, 2026 at 9:22 am
Many thanks for your encouraging comments!
Mark J
January 18, 2026 at 1:32 am
Parasuraman you are becoming an expert at repairing these. Great job.
Parasuraman S
January 18, 2026 at 9:22 am
Many thanks for your comments, dear Mark!
Yogesh Panchal
January 19, 2026 at 3:36 pm
Good Job! Sir
you're on the right track; you'll find all the parts you need. Most of components are not readily available in our market anymore; they are only available Back to Back, and even when they are available, you have to buy them in large quantities.
Parasuraman S
January 19, 2026 at 8:11 pm
Yes, very true, Dear Yogesh Bai! Many thanks!
Waleed Rishmawi
January 20, 2026 at 8:44 pm
wow, all these parts, I hope it was worth your time and efforts but I am sure you enjoyed fixing this device and bring it back to working conditions. the joy of replacing capacitors is amazing...LOL. as always, interesting article and repair. have a blessed day my friend.
Parasuraman S
January 21, 2026 at 8:06 am
Glad to see you back in our friendly stream! Many thanks for your comments and encouragement, dear friend! May God bless you!