
Mystery Solved In LG Monitor – W1953-TE PF
This is the third time this monitor was visiting me. It was brought in November, 2024 with bulged capacitors
(https://jestineyong.com/wonder-how-this-lg-monitor-model-w1953te-pf-was-working-with-dull-display/).
Second visit vas in January, 2025 with yet another mystery of not responding to touch switch. In the second article, captioned “MYSTERY MONGER MONITOR – LG MODEL W1953-TE PF” I had mentioned that I could not decipher the real reasons for the malfunction of touch on/off switch. This article is yet to be published while writing this and therefore I am unable to provide a link. I am providing only images that are relevant to the present complaint.
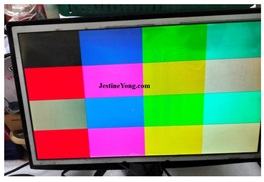
This time, in My, 2025, once again the complaint was monitor is not getting on. I brought it home and opened the set and wanted to probe the real reasons for such mysterious behavior of this monger monitor. Since the voltage was ok, I focused on the touch control panel fixed on the front frame. As it was stuck with double sided tape, I carefully peeled it off. Then retouched all solder points, though it did not look like the problem, assuming that there could be some unseen loose contact under the connector or other components or the IC itself. I retouched the IC legs also very carefully as it was very tiny and could be viewed clearly only through a powerful lens. Then cleaned the board thoroughly using IPA. Let us have a look at the board before proceeding further:
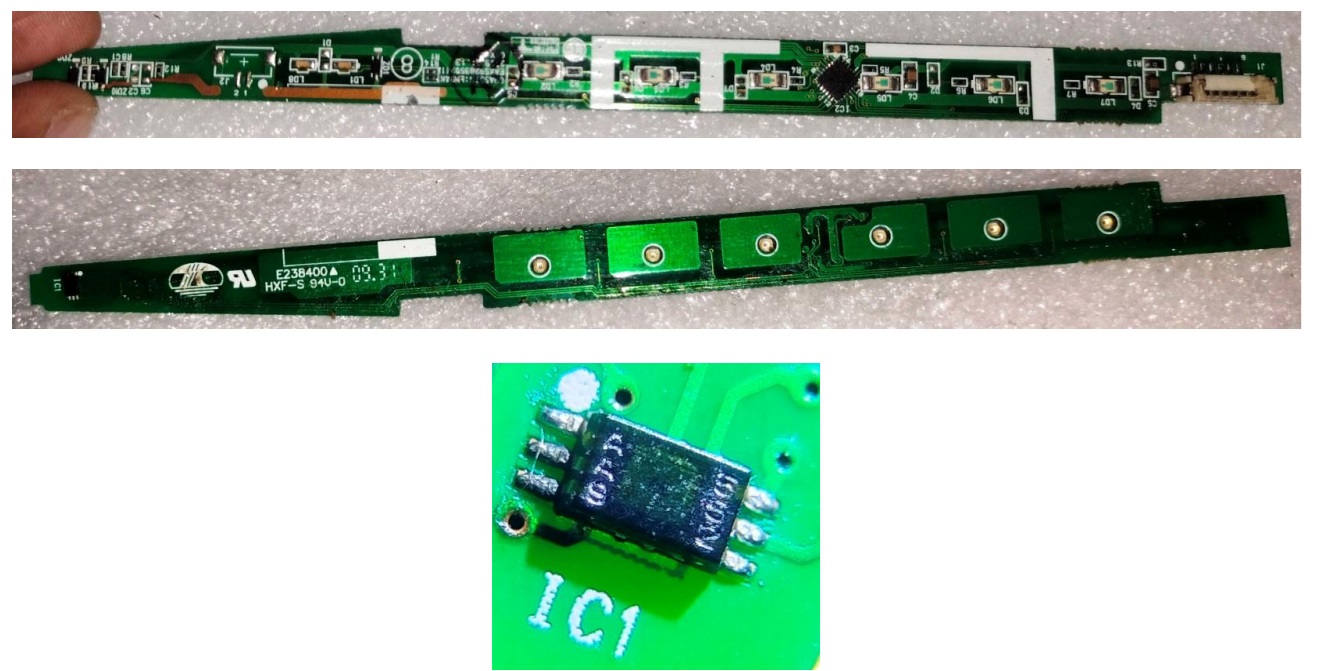
The SMD IC that you see in the third picture reading AA9 on the left and 552 on the right is a light sensor IC and I could not get a datasheet of this. Anyhow, that could not be the problem creator.
I checked minutely what went wrong by tracing the track that comes from the on/off touch button to the IC.
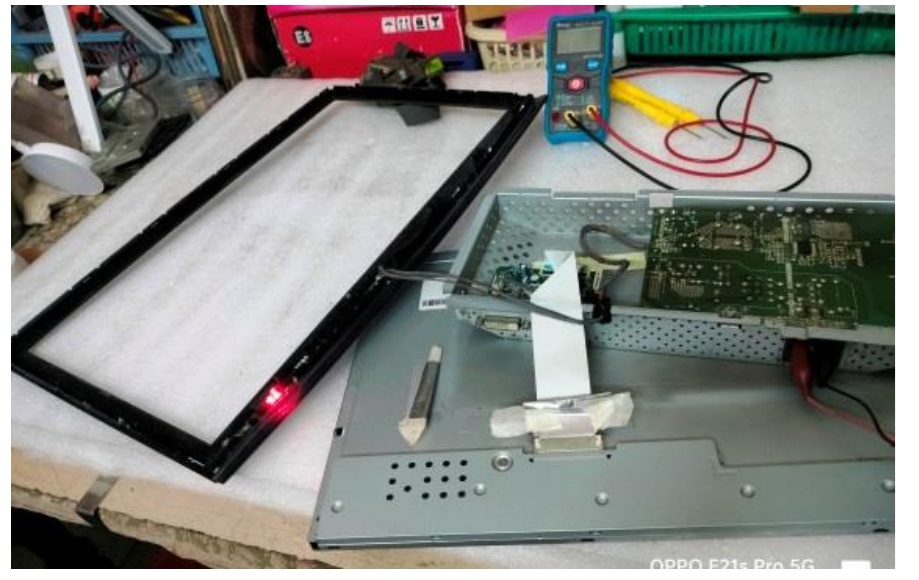
The X10 lens really helped me find a track cut near the touch button, which cannot be easily noticed. The cut portion could not be even photographed clearly. It was probably a result of fungus formation. I cleaned up the area and rejoined the cut track with very thin wire, picture of which is given below:

Then externally connected the boards and applied power. I was glad to see the monitor coming on and responding to the touch on/off when tried several times.
I fixed the monitor back and applied a signal and allowed it to run for several hours and repeatedly tried on/off, took video and sent it to the IT-Administrator.
Finally, I got double satisfaction which gained entry into the collection bag.


This article was prepared for you by Parasuraman Subramanian from India. He is 76 years old and has more than 30 years’ experience in handling antique equipment like Valve Radio, Amps, Reel Tape Recorders and currently studying latest tech-classes conducted by Kerala State Electronics Technicians’ Association. He has done graduation in BBA degree, private diploma in Radio Engineering and retired as MD of a USA company. Presently working as Consultant to Hospital and other institutions.
Please give a support by clicking on the social buttons below. Your feedback on the post is welcome. Please leave it in the comments.
P.S-If you enjoyed reading this, click here to subscribe to my blog (free subscription). That way, you’ll never miss a post. You can also forward this website link to your friends and colleagues-thanks!
You may check on his previous article on No Display Problem Solved By Side COF Bonding In HAIER LED TV Model LE32B9000
 (42)Dislikes
 (0)
(0)
8 Comments
Leave a Reply


Albert van Bemmelen
January 3, 2026 at 6:11 pm
I tried to find that AA9 552 light sensor ic mentioned and found a datasheet of this smd ic with also 6 pins =>
https://www.s-manuals.com/pdf/datasheet/m/a/max4599_maxim.pdf
And looking with that smd code on the Aliexpress website they say it is this ic => NCP5359AMNR2G (Marking AAV AAL AAK AA4 AA9 AA*) DFN-8 Gate driver chip, which however has 8 pins. So I guess you already checked those.
Parasuraman S
January 3, 2026 at 10:32 pm
Thanks for your lead and suggestions, dear Mark! No, I did not try anything further on that IC.
trebel
January 3, 2026 at 7:00 pm
Thank you for all your hard work.
Thank you kindly.
Good tutorial.
Cheers m8.
Happy New Year.
Parasuraman S
January 3, 2026 at 10:33 pm
Happy new year, dear! Many thanks for your encouraging comments!
Mark J
January 4, 2026 at 4:18 am
Parasuraman another great monitor repair. Well done.
Parasuraman S
January 4, 2026 at 8:05 am
Many thanks for your comments, dear Mark!
Yogesh Panchal
January 6, 2026 at 6:04 pm
Good Job! Sir
It is now essential to have a microscope or microscope HD camera
Parasuraman S
January 7, 2026 at 4:54 pm
Yes, very true! Thanks, Yogesh Bai!