
Two Lovely Philips Radios Saved From Dump
The thrill of working on Radios, especially the world famous Philips brand, is inexplicable. Here are two such cases which I am sharing to promote radio repairs and keep it alive among the technicians world-wide. Listening to a radio has always been very amusing irrespective of advancement of technologies by leaps and bounds!
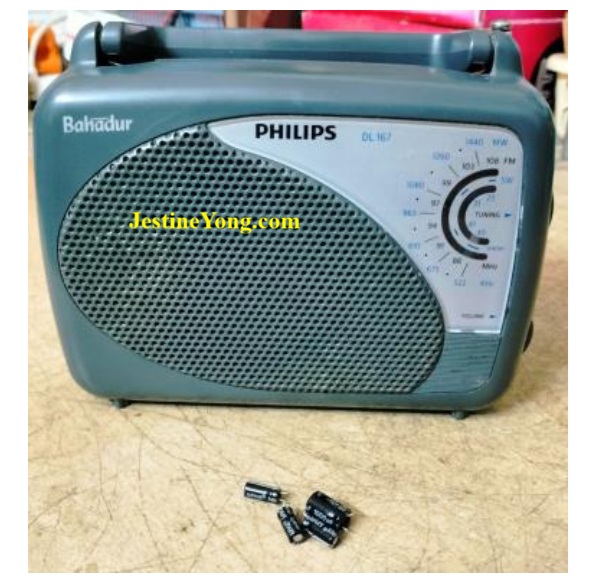
Case (1) Model Number DL167/94 : This belonged to a teacher, whose husband was my school teacher and is no more.
The complaint reported was that it was intermittent and sometimes it had to be hammered to work. I told the guy who brought it that set would probably have suffered internal damage due to a fall and this proved to be correct once I opened the set. Let us have a look at some starting pictures:

The radio was thoroughly cleaned which is the routine work that I do immediately after opening the case. I cleaned and lubricated the battery contacts. The two cells were good. Then cleaned and lubricated the volume control and band switch and operated it a few times to enable a self-cleaning. The radio was found working but was not picking up stations properly.

Click here to check out Humphrey’s latest ebook on Washing Machine Repair
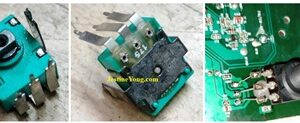
Then I noticed that in this radio a variable resistor was used in place of gang condenser. There was no way of lubricating it as it was sealed. In order to check whether that was the culprit, I used a 100K potentiometer and fixed it in place and the radio was found working perfectly and getting tuned to all stations.
This confirmed that the VR was defective, though showed ok in a Multimeter check.
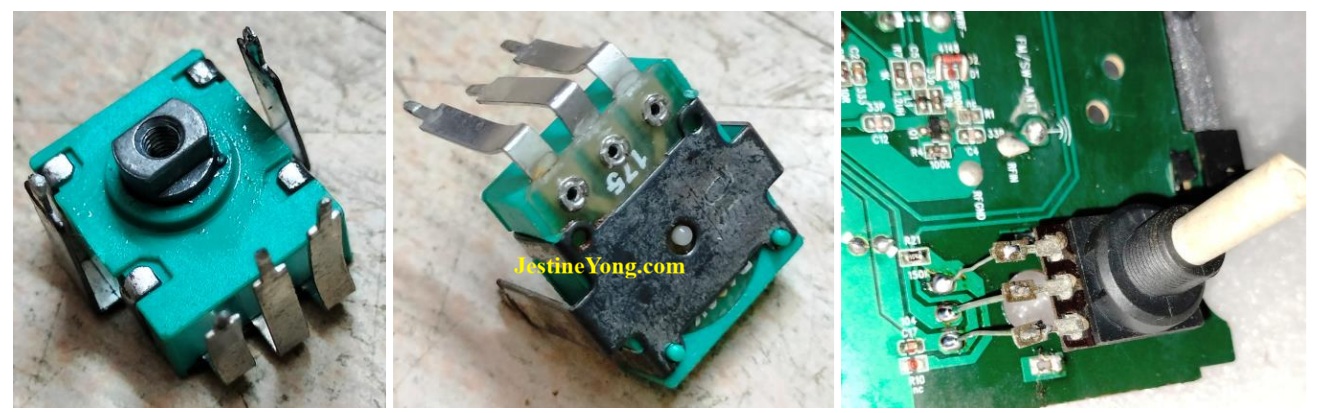
Though I tried to get a replacement from the market, this was not available anywhere. So I opened it and cleaned the contacts thoroughly and lubricated it:

Then re-fixed it after removing the make shift pot. The radio was found working well though the tuning was not as perfect as the other one. But it served the purpose.
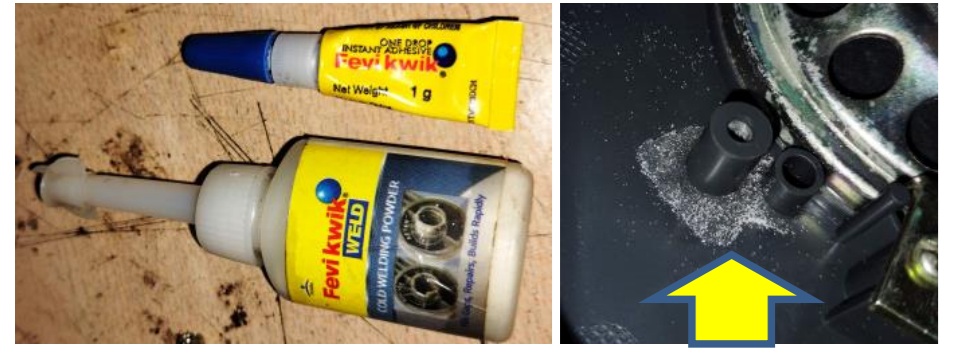
One of the legs had broken, probably due to the fall as presumed and I fixed in place using Super Glue and bonding powder and allowed it to settle down properly:
Then replaced all the four electrolytic capacitors as a preventive maintenance and tested the Radio for sufficient hours before closing the covers.
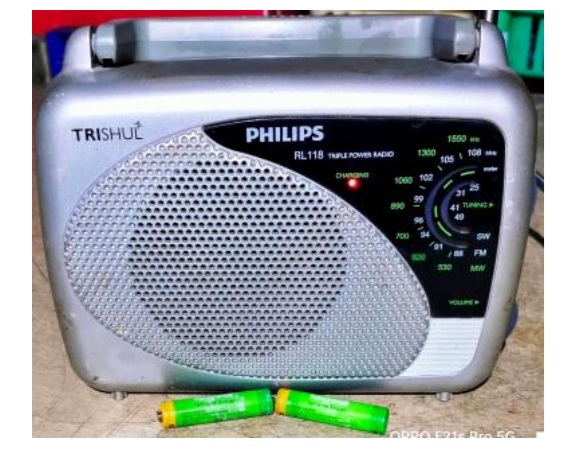
Case (2) Model Number RL118/ : This was brought by a new customer who brought an LED TV too with the complaint that it was not being used for a long time and he wanted it to be checked and restored, if possible. I opened the radio and did a thorough cleaning of inside as it had tons of dirt and cobweb in it.
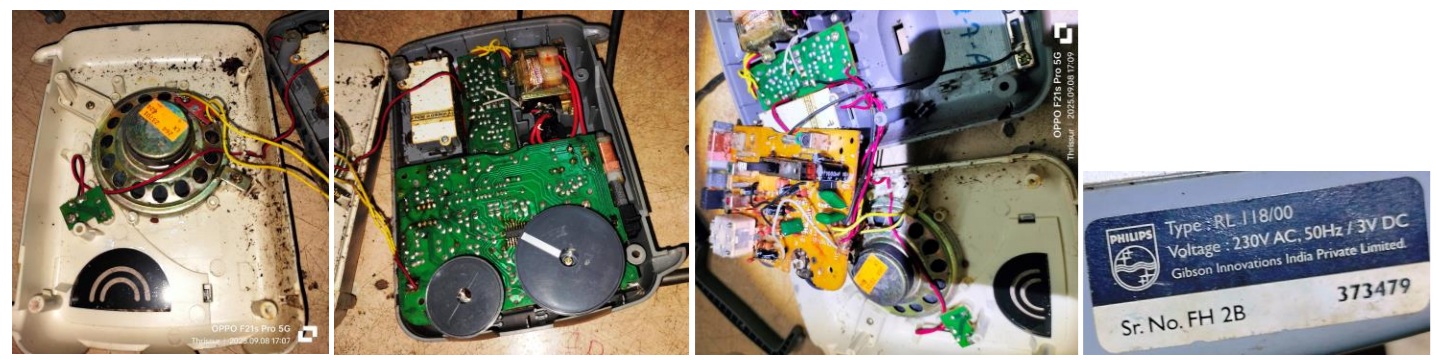
I retouched the entire boards and replaced the four electrolytic caps in it. The built in rechargeable batteries were worn out and I replaced them from my stock, after thoroughly cleaning the contacts. Then cleaned and lubricated the volume control and band switch. The radio was found working very well.
I fixed the antenna properly as it had broken from its base. I used a suitable long screw, washer and nut for fixing it properly. The radio was found working very well in all bands and the sound was really superb, typical of a Philips Radio.
Double missions accomplished with double satisfactions getting collected to the voracious bag!

This article was prepared for you by Parasuraman Subramanian from India. He is 76 years old and has more than 30 years’ experience in handling antique equipment like Valve Radio, Amps, Reel Tape Recorders and currently studying latest tech-classes conducted by Kerala State Electronics Technicians’ Association. He has done graduation in BBA degree, private diploma in Radio Engineering and retired as MD of a USA company. Presently working as Consultant to Hospital and other institutions.
Please give a support by clicking on the social buttons below. Your feedback on the post is welcome. Please leave it in the comments.
P.S-If you enjoyed reading this, click here to subscribe to my blog (free subscription). That way, you’ll never miss a post. You can also forward this website link to your friends and colleagues-thanks!
You may check on his previous article on Solved Weak Output In PANASONIC TWO-IN-ONE Model RX-M70
 (30)Dislikes
 (0)
(0)
10 Comments
Leave a Reply


Albert van Bemmelen
April 18, 2026 at 4:27 pm
Thanks for sharing another 2 in 1 repair of both Philips radios. Nice to see that Philips made so many radios that were sold all over the world and still are much appreciated! And of course nicely fixed by one of the best engineers that India has to offer!
It will be a real shame when FM broadcasting is ended making all FM radios obsolete. As FM broadcasting is being phased out in favor of DAB+ (Digital Audio Broadcasting), with a total shutdown planned in some regions of Europe by the end of 2026. Do not know if that also applies to India too?
But I'm sure glad that for now here FM still works so I still can enjoy my post delivery routes while listening to music and hourly news reports on my small portable Baofeng UV 5R Walkie Talkie that is also a perfect radio.
Parasuraman S
April 18, 2026 at 6:29 pm
FM is going off the air? That is news to me! Sad to hear! Anyhow, innovation is always a part of progress, and we are bound toa accept it. Many thanks for your valuable expert comments, dear Albert!
Imoudu.O
April 20, 2026 at 5:48 am
The repair of case1 calls for experience to play to be able to unfold that VR.
Parasuraman S
April 21, 2026 at 2:17 pm
Many thanks!
Mark J
April 19, 2026 at 2:25 am
I also enjoy working on and repairing vintage tape decks and radios. Thank you for sharing these Parasuraman.
Parasuraman S
April 19, 2026 at 8:33 am
Many thanks for your comments, dear Mark!
Yogesh Panchal
April 19, 2026 at 3:26 pm
Good Job! Sir.
First time heard a variable resistor was used in place of gang condenser.
Parasuraman S
April 19, 2026 at 7:00 pm
Many thanks for your comments, dear Yogesh Bhai!
Muykit
April 20, 2026 at 5:21 pm
Thanks for useful information. I love simple radio circuits as they are good for basic electronics lessons. Most small radio repairs dont mostly present problems of unavailability of spare parts. So radio listeners, for goodness sake, have mercy for radios and stop hitting them to make them operate, have a technician fix it. Abolishing FM radio transmission will sure spread soon like bushfire around the world. If there will be clear enough instructions for technicians (my interest lies here) on how to connect USB modules to radios, then some presumed unworthy radios will get a second entertainment chance to serve there eager masters. Some CRT TVs (sorry, some readers) are still being used, and even being re-repaired for extended use. Honestly I love watching/repairing CRT TVs that have defied marching orders. Okey, back to some radios with torches, clocks, small solar panels and mini amplifiers. It will be a pity to see them just lying wastefully around or in worse cases in dump sites. What bitterness !
Parasuraman S
April 21, 2026 at 2:16 pm
Many thanks for expressing your views and making very useful comments!