
XPE COB Light Torch Repaired
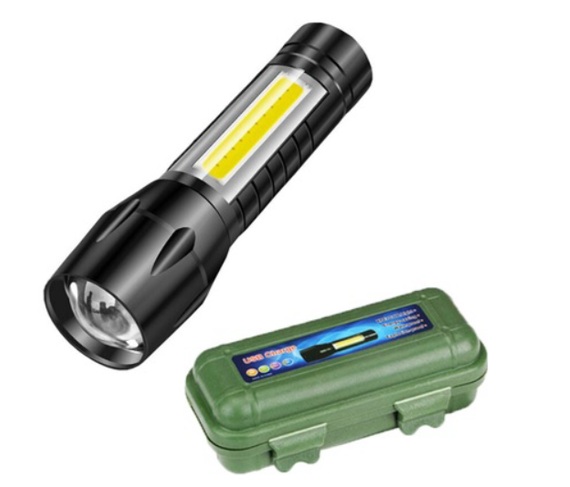
Received this torch light for repair from my friend, Stating Problem not working properly.
I checked for the fault: when I turned on the flashlight, it lit up for a while and then shut off. I changed the mode using the top switch (it has three operating modes: 1) front beam light, 2) side COB light, 3) flashing side COB light). It seemed like a battery issue. However, when I switched modes, I found that the flashing side COB light was working correctly.
May be Battery is not able to provide proper current & I decide to disassemble the torch for further inspection. So opened the back side Cap. (tack care identical Torches may have different way of opening & removing the Battery)
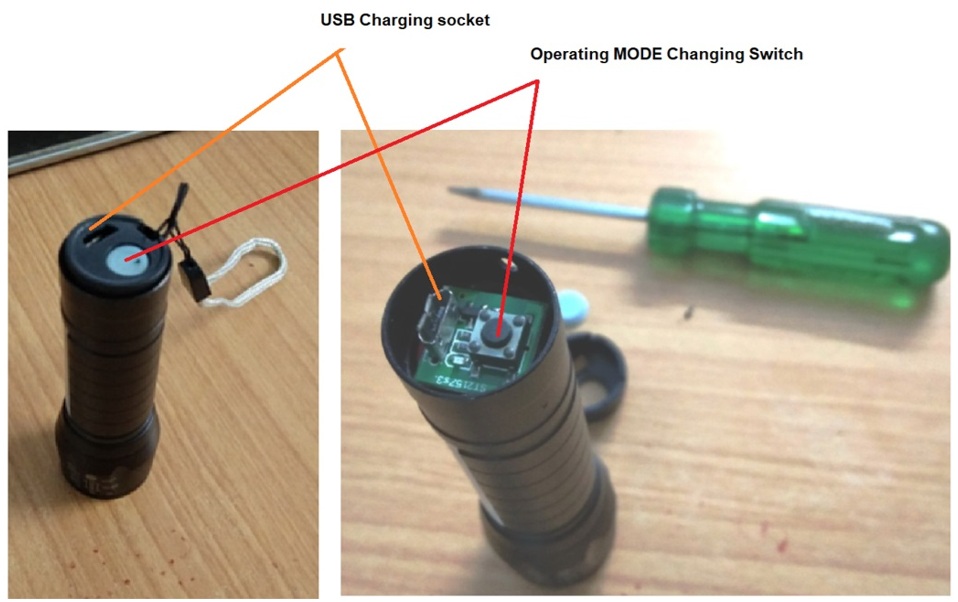
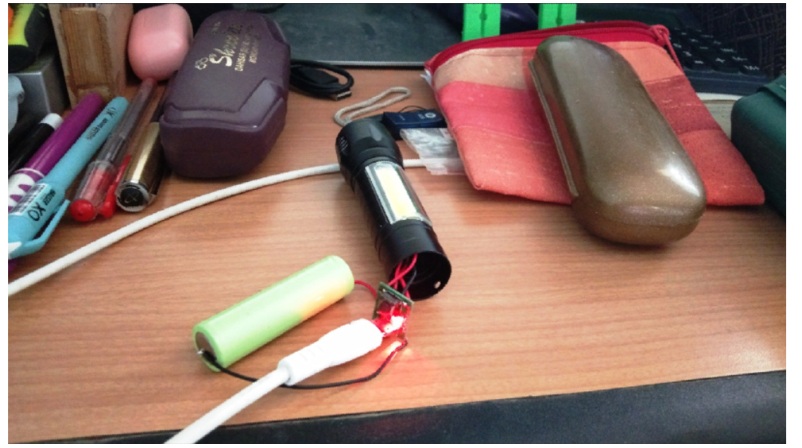
The circuit was slowly pulled upwards, and finally, it came out along with the battery.
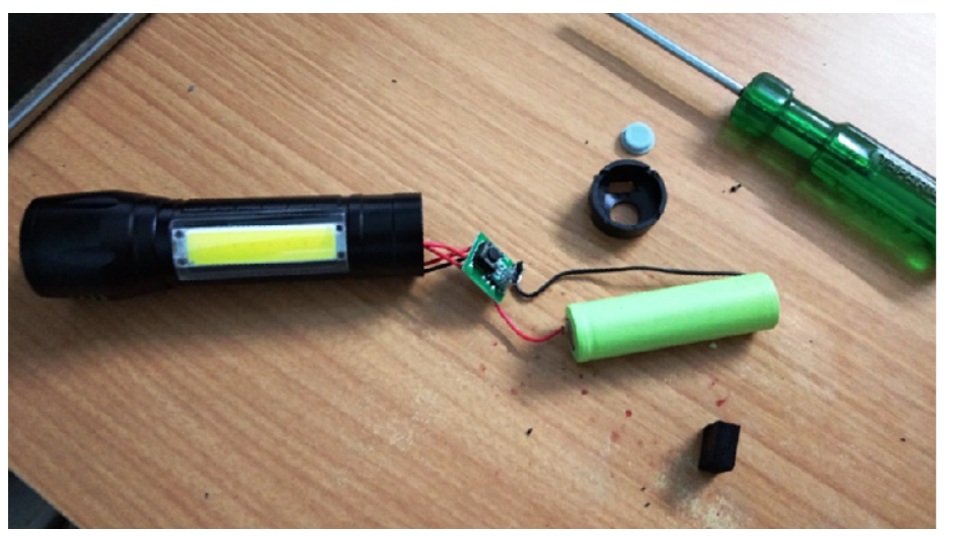
There are no markings or capacity details on the battery. I estimate it to be a 14500 Li-Ion AA-sized battery.
Upon checking the battery voltage, it showed 2.2V instead of 3.7V. However, when I connected the USB charger and checked the voltage at the socket, it showed 5V. It appears that the battery has discharged or is unable to hold the necessary charge. I removed the battery & connected it for the charging on my external charging unit. I removed the battery after 4 hrs.it is showing 4.2v that is up to the mark.
I reconnected the battery and turned on the flashlight; it ran for two minutes before draining. The battery might be faulty. To verify, I put it on charge, and after a few hours, it showed 4.2V. So, I left it as is until the next day. The following morning, I checked the voltage, and it read 4.1V under no load. For testing purposes, I connected a 1W LED. After half an hour, I checked the battery voltage again, and it showed 3.8V, which seems fine.
Now I have to check the Circuit for any fault. Checked driver circuit Everything seems fine.
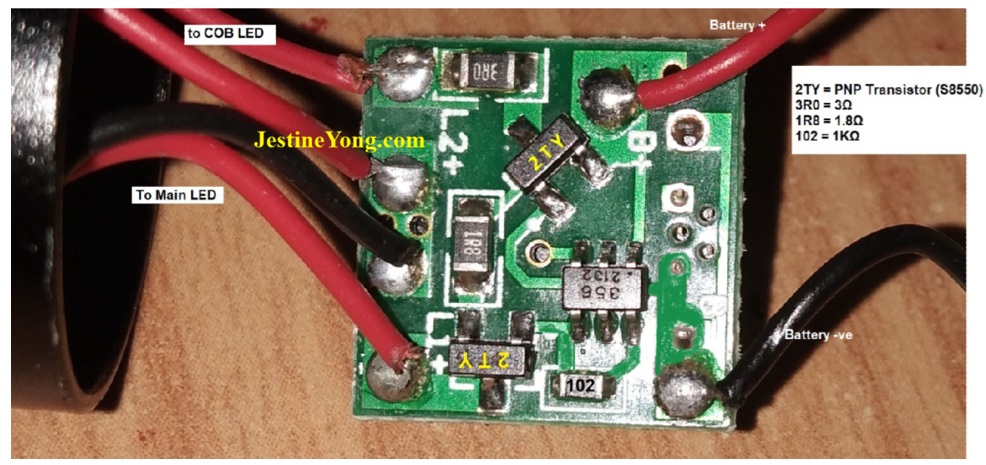
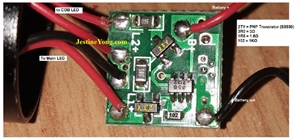
I have some doubts about the 6-pin IC; it might be used for different light modes. I couldn’t find a datasheet for it. So, I traced it using a reverse-engineering technique and found that Pin 1 is VCC and Pin 2 is Ground.
I also checked for any short circuits between the pins but found no faults with the IC.
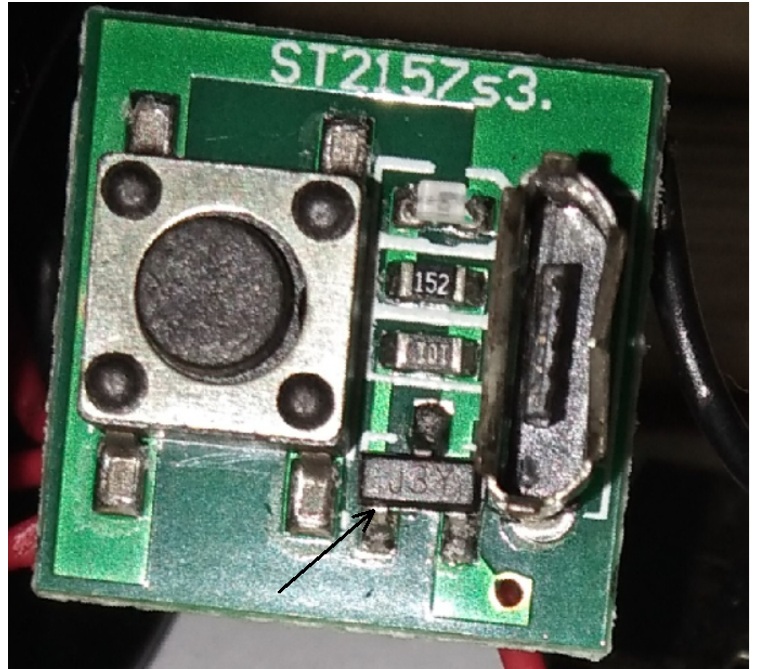
Then Checked Switch Side Components, Here I Found SMD Transistor J3Y showing shorting between Base & emitter.
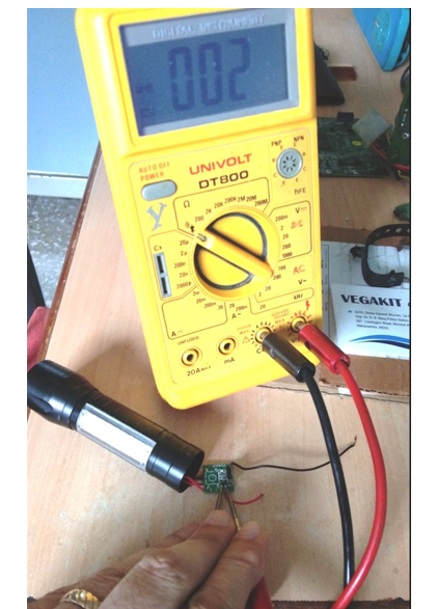
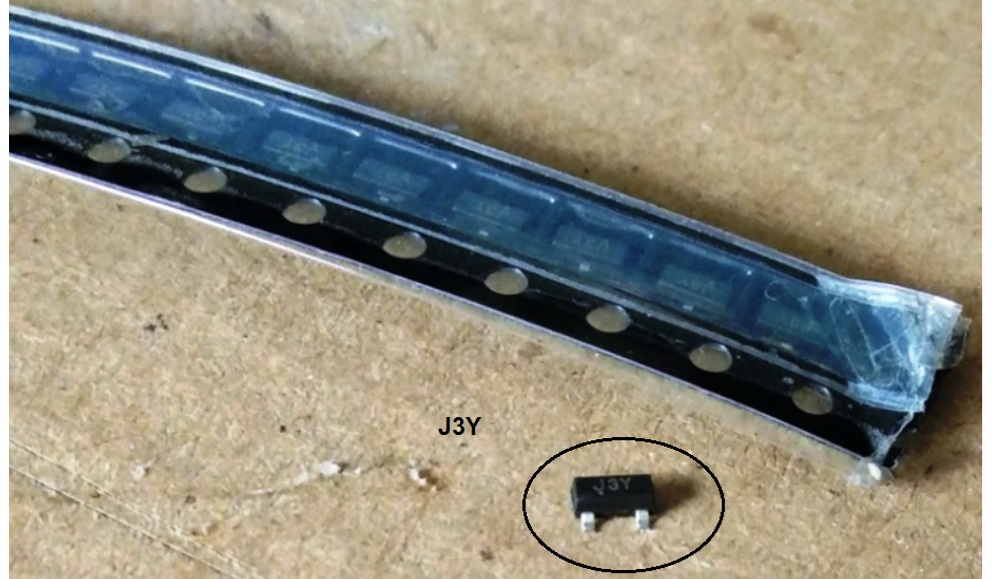
J3Y is an S8050 NPN transistor; Now this SMD components are difficult to find locally & You can’t get these individually as loose items in the local market & if available you have to by a roll of at least 100 pieces. Luckily Few days back I already ordered some commonly used Transistors in small quantity from online. Like J3Y,2TY, Y1, Y2, J3 & so on….
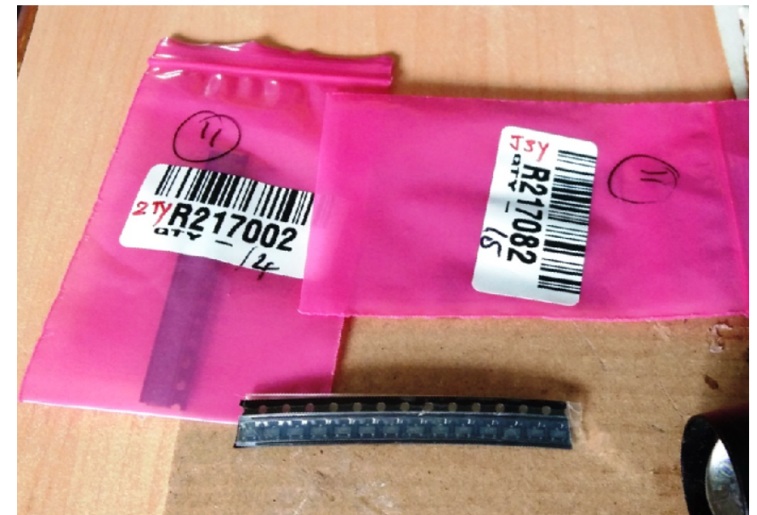
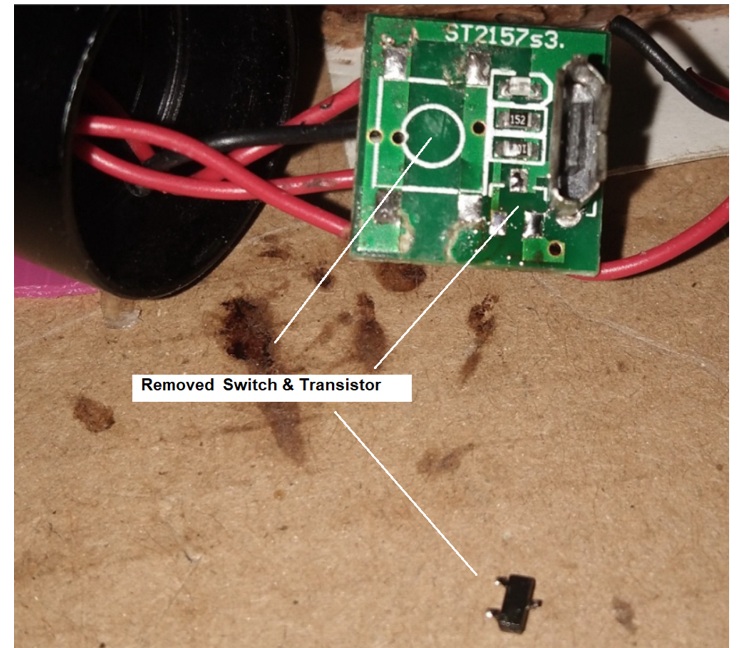
The faulty transistor has now been removed from the PCB. I had to remove the switch first to get to it; desoldering and removing such SMD components without the right tools is not easy. Handling the PCB is also difficult because it is very small and has all the wires attached to it.
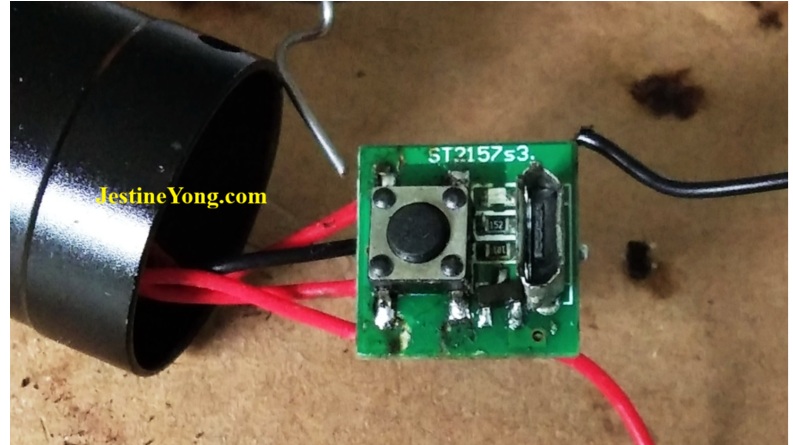
Solder Back Same Switch & New SMD Transistor.
The battery has now been connected for testing, and the result was satisfactory.
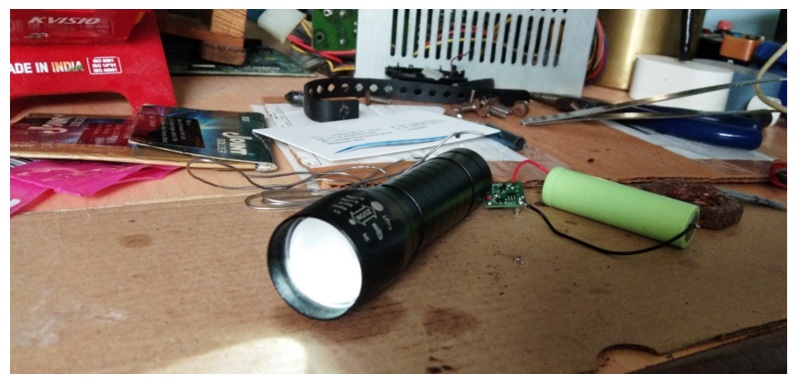
Keep Running Torch for few minutes & put it again on charging & checked for any component heating.
Seems everything is Ok.
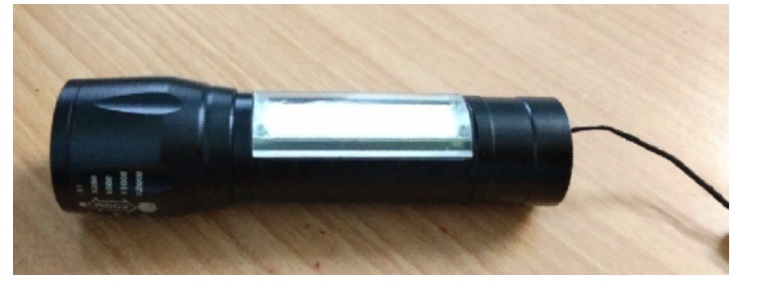
Assembled everything back & device is ready for the delivery.

This article was prepared for you by Yogesh Panchal who works as a Computer Hardware Engineer in Mumbai India.
P.S- Do you know of any your friends who would benefit from this content that you are reading now? If so, forward this website to your friends or you can invite your friends to subscribe to my newsletter for free in this Link.
Note: You can check his previous repair articles on USB WIFI DONGLE REPAIRED
 (40)Dislikes
 (0)
(0)
8 Comments
Leave a Reply





Albert van Bemmelen
July 12, 2026 at 5:51 pm
Although it first looked like it had a bad assumably 14500 Li-Ion AA-sized battery you professionally diagnosted the real cause of the problem very nicely Yogesh!
Parasuraman S
July 12, 2026 at 6:25 pm
This is an exceptionally professional and expert fix! Many would have thought the problem was with the battery and replaced it and left it. But no faulty component can escape your eyes! Well done, Yogesh Bai! Many thanks for sharing!
Yogesh Panchal
July 13, 2026 at 4:32 pm
Thank you!Sir,
I have made it a habit to check the charging section components whenever a battery issue arises, because sometimes they are the actual cause of the battery failure.
Yogesh Panchal
July 12, 2026 at 6:42 pm
Thanks! Albert,
It has been found that manufacturers either hide the codes on SMD components or mark them with different codes to create confusion.
Imoud.O
July 13, 2026 at 3:07 am
Infact I had concluded it must be battery problem,for battery may have good voltage but can't retain current because of aging,but you proved me wrong.I appreciate ur expert troubleshooting methods.
Yogesh Panchal
July 13, 2026 at 4:35 pm
Thank You! Imoud.O
You are right; to rule out any doubts, always check it with a working battery (if you have one) or use an external power source for testing.
Mark J
July 13, 2026 at 3:40 am
Good job on the repair Yogesh . It's good that you order the pack of various transistors.
Yogesh Panchal
July 13, 2026 at 4:39 pm
Thank you! Mark J
I have a list of some commonly used SMD transistors,Every technicians must have in stock such as...J3Y,2TY,Y1,Y2,2T1,J3,J6,J8,M6........